How To: Manually Assign/Re-Assign Leads
TOPICS COVERED IN THIS ARTICLE
- How to manually assign/re-assign leads
ENVIRONMENT
LeadManager
STEP BY STEP INSTRUCTIONS
There are two ways to manually assign or re-assign leads:
- From the Normal View
- Batch Processing
Method 1: From the Normal View
Using this method - up to 100 leads can be managed at once.
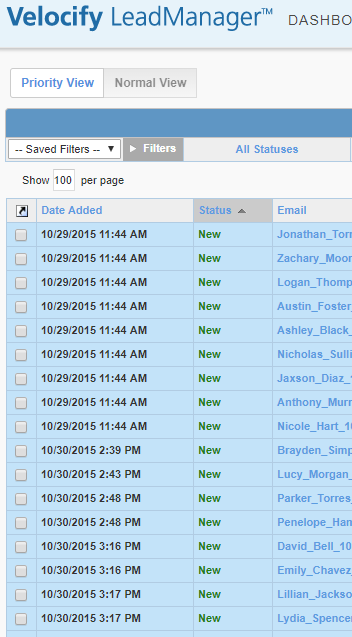
Click on Leads to load the Normal View page.
Use sorting and filtering to locate the lead(s) to be assigned/re-assigned. For more information, see How To: Filter and Sort on Leads I Normal View.


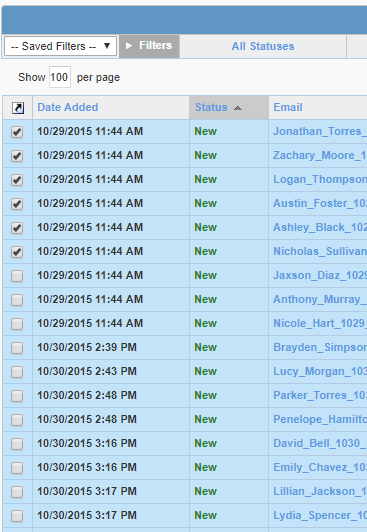
Use the check-boxes on the far left-hand column to select leads for assignment.
Using this method - up to 100 leads can be managed at once.


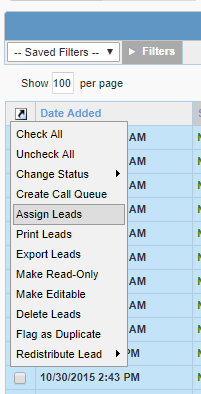
Click the small arrow icon at the top of the check-boxes column to bring up a menu.
Click Assign Leads.

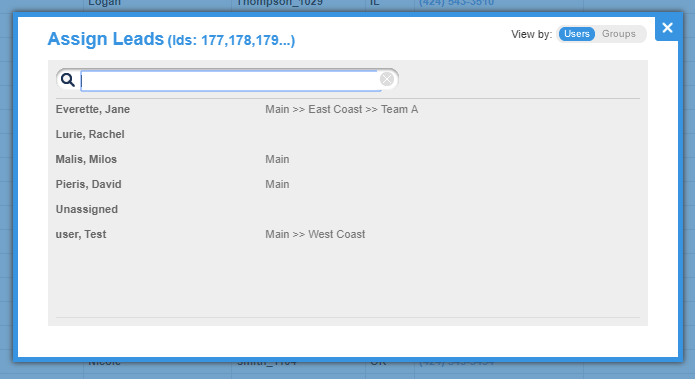
The Assign Leads pop-up window will appear.
Select the name of the user who will receive the leads.
As soon as the name is clicked, the leads will be assigned to the user.

Method 2: Batch Processing
Use Batch Processing to move large numbers of leads. For more information, see Batch Processing: Detailed Review.
Batch Processing is only available to LeadManager Advanced clients.