How To: Filter and Sort on Leads | Normal View
TOPICS COVERED IN THIS ARTICLE
- Filtering and sorting leads in Normal View
ENVIRONMENT
LeadManager
STEP BY STEP INSTRUCTIONS
When leads are filtered, all the leads that fall outside the selected filter(s) will not be displayed.
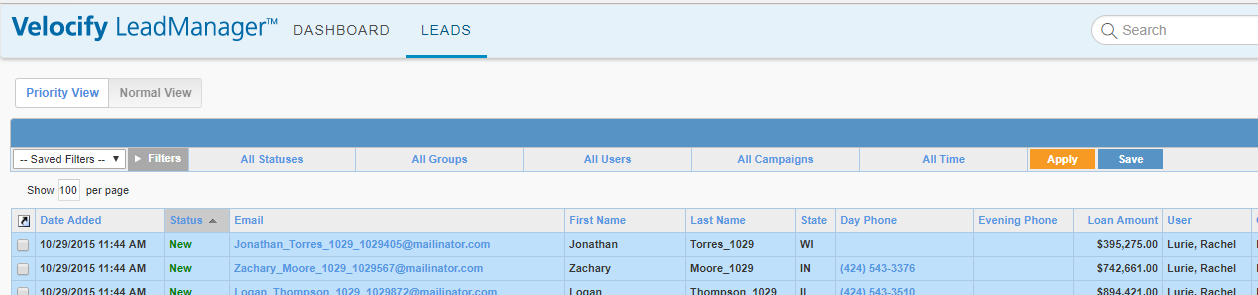
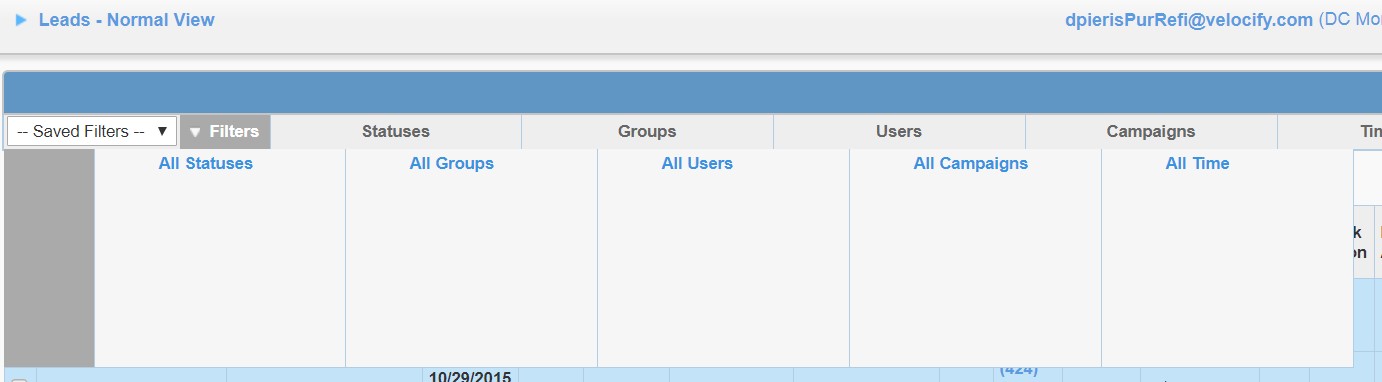
- Using the filter bar, users can filter leads can be by Status, Campaign or Time.
- Administrators also have access to filter by Group or User
- These filters will restrict the pool of leads you are viewing. You can filter leads by Status, Campaign, or Date Range. Use the filters in combination to zero in on specific groups of leads you want to work.
- Look on the filter bar and click these links to filter your leads.
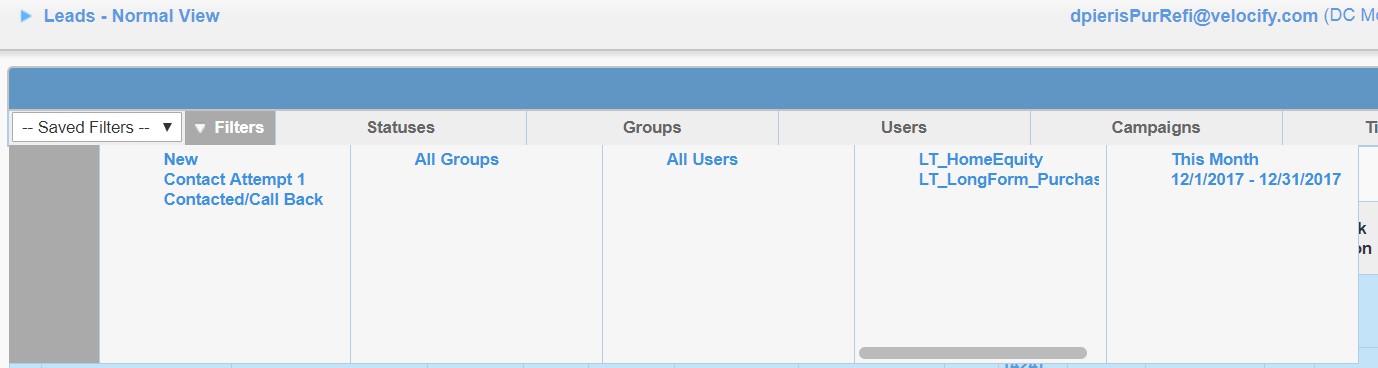
- The filter bar will display what filters are currently applied to the leads. In the example above, the status filter has multiple items selected. As such, it displays: “Included Statuses” The Groups, Users, and Campaigns filters are all set to include All.
To apply a filter, click a link in the filters bar to open the popup.
When clicking the Status link on the filter bar the popup loads as seen here

- The list of possible values to filter on appears here. Click a value to filter on it.
- Type into this search field to find values more quickly.
- Selected values appear in this list.
- Click the Reset link to clear the selected filters.
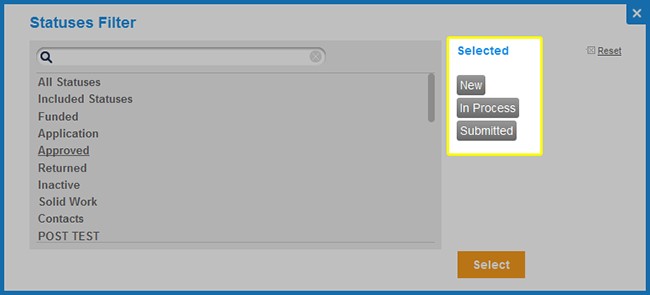
After clicking several statuses they appear here in the Selected list.
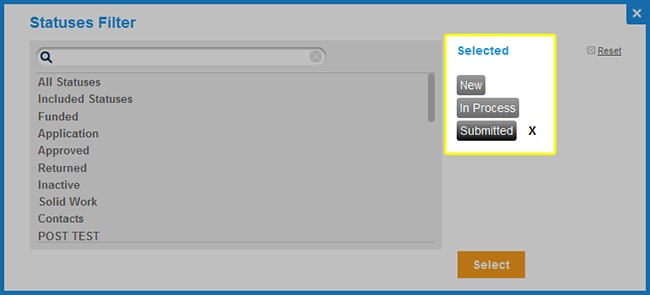
Mouse over a selected value to reveal an X. Click the value to remove it from the list of selected values.
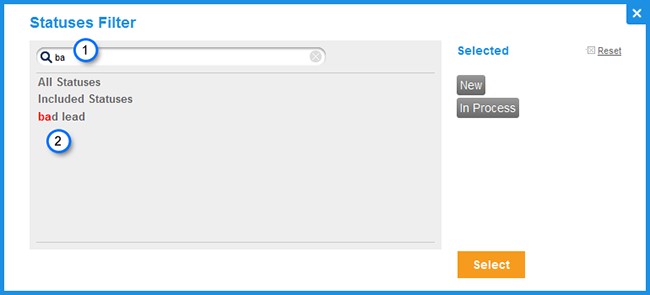
Find a value by typing in the search field.
Results are returned in real time based on the text appearing in the search field. Click the value to add it to the Selected column
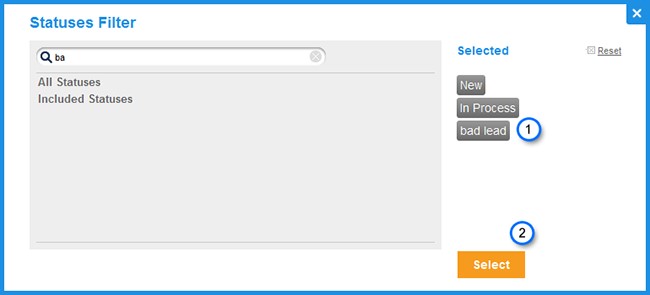
- The desired set of statuses have been added to the Selected list.
- Click the select button to add the filter.
Click the date range in the filter bar to set the date range filter.
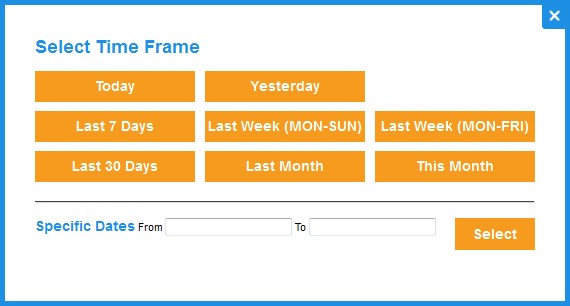
Clicking one of the preset date ranges will filter by that time frame.
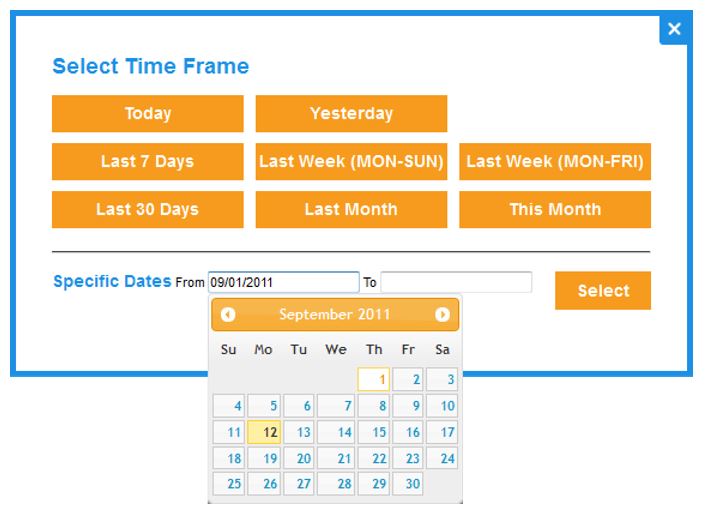
Alternatively, it is possible to click in the Specific Dates fields to select a date range that way. Click in the From field to set the beginning of the date range.
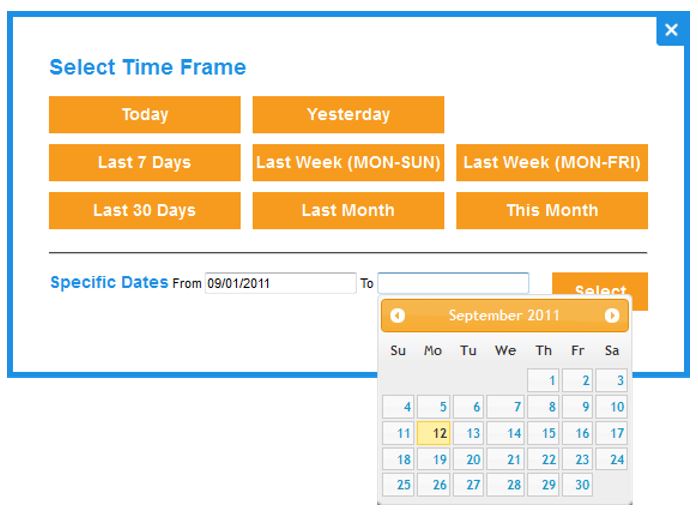
Click in the To field to set the end of the date range.

When the Specific Dates time frame has been set, clicking the Select button will set the filter.
When the filters are set, they appear in the expanded filter bar.
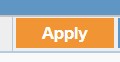
- Clicking the Apply button on the Filter bar will reload the View Leads page with leads filtered as specified.
- The Save button allows any created filters to be saved for later use and selected from the saved filters dropdown.

- Click the other column headers to sort your leads by Name, Campaign, or other criteria. Click the same column header again to toggle between ascending and descending sort order, in addition to sorting columns.
- The default "sort order" of your leads is by "Date Added" with the most recent appearing first.
Column headers appearing here will vary depending on your configuration and / or product type.
