How To: Create Calendar Events
TOPICS COVERED IN THIS ARTICLE
- Calendar events
- Tasks
- Appointments
ENVIRONMENT
LeadManager
STEP BY STEP INSTRUCTIONS
Calendar Events: Task and Appointments
- Use Calendar Events to schedule events with your leads.
- There are two types of Velocify LeadManager™ Calendar Events: Tasks and Appointments.
- Tasks have a single due date/time.
- An appointment has both a start and end time.
- After scheduling either type of Calendar Event, it will appear in your dashboard calendar.
Creating Calendar Events:
- There are several places in LeadManager where you can open the Calendar Event Popup to create calendar events.
- Users can schedule Calendar Events for themselves.
- Administrators can schedule Calendar Events for any user.
- Administrators can also configure actions to require Calendar Events.
To create a new Calendar Event, use one of the following three methods:
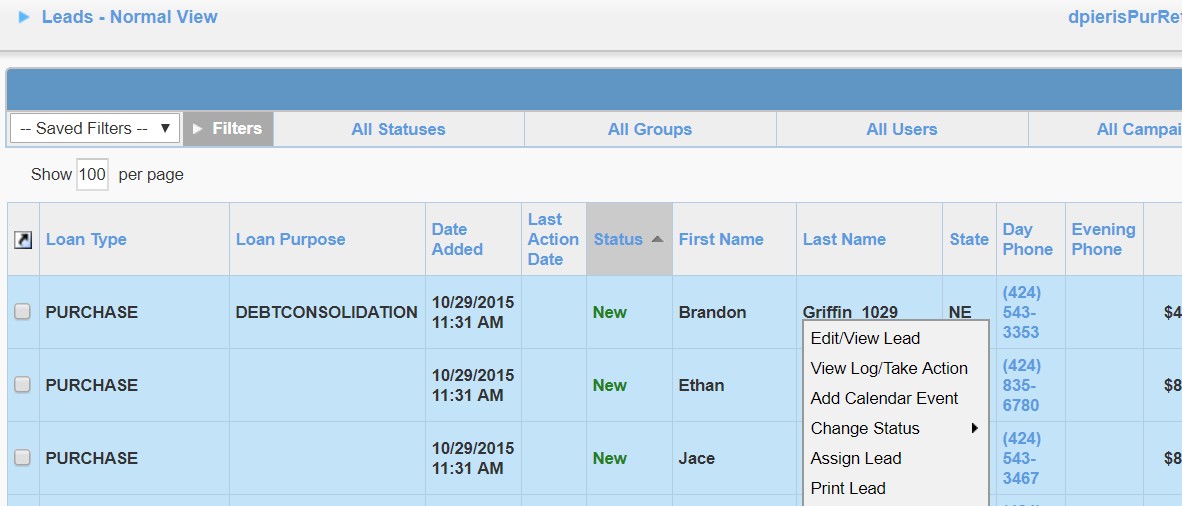
- On the Leads – Normal View, right-click a lead and select Add Calendar Event from the right-click menu.
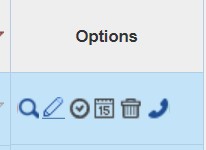
- On the Leads – Normal View page, click the Calendar Event Icon in the Options Column
- In the Lead Edit view, click the Add Calendar Event link.
When the Calendar Event window appears:
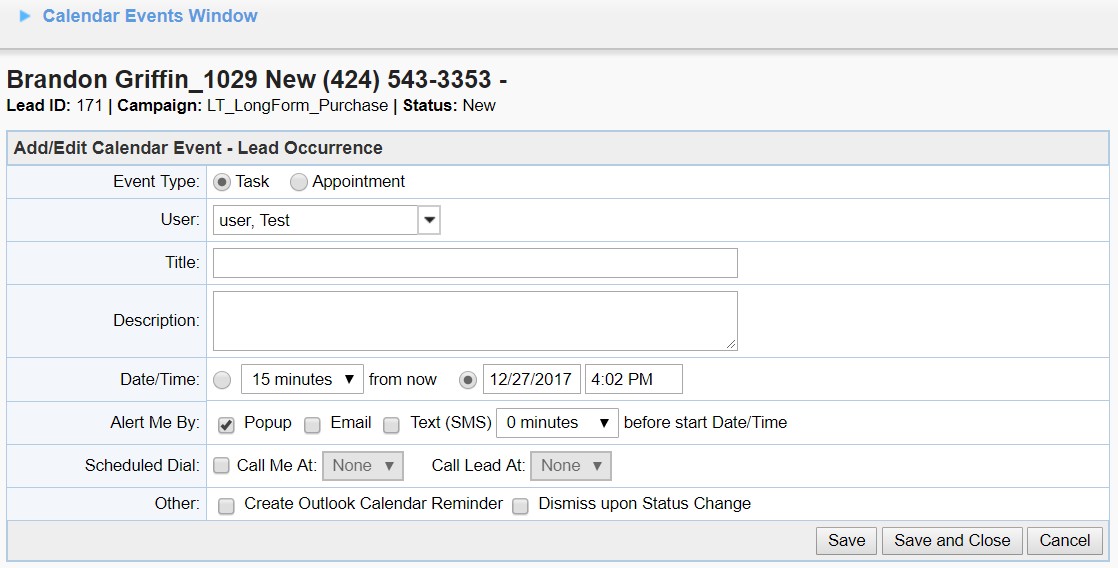
- Select Task or Appointment.

- Give the Event a Title and Description

- Select a Date and Time for your Calendar Event by selecting the radio button that corresponds with the method you would like to use to schedule your Task or Appointment.
- If the Calendar Event is a task, there are two options for setting the time of the task. The first option allows you to select from a dropdown menu a number of minutes, hours, or days in the future that you would like to schedule the call back.

The second option allows you to schedule the Task at a specific date and time in the future.

- If setting an appointment, choose a start time and an end time.

- If desired, select the Alert Me By: method(s) you would like to be alerted by, as well as the amount of time before the beginning of the event that you would like to receive the alerts.

Dial-iQ - Scheduled Dial
- If you have Dial-iQ, and would like this Calendar Event to be a Scheduled Dial, click the Scheduled Dial
- Scheduled Dial, allows the user to choose the number to be reached at, and the number that the lead can be reached at and at the time of the appointment, Dial-IQ calls the number you select for yourself, and when you answer, it calls the lead at the selected number and connects the two calls.

For more information, see Scheduled Dial.
Once the Calendar Event is scheduled, it will appear in the user’s dashboard calendar.
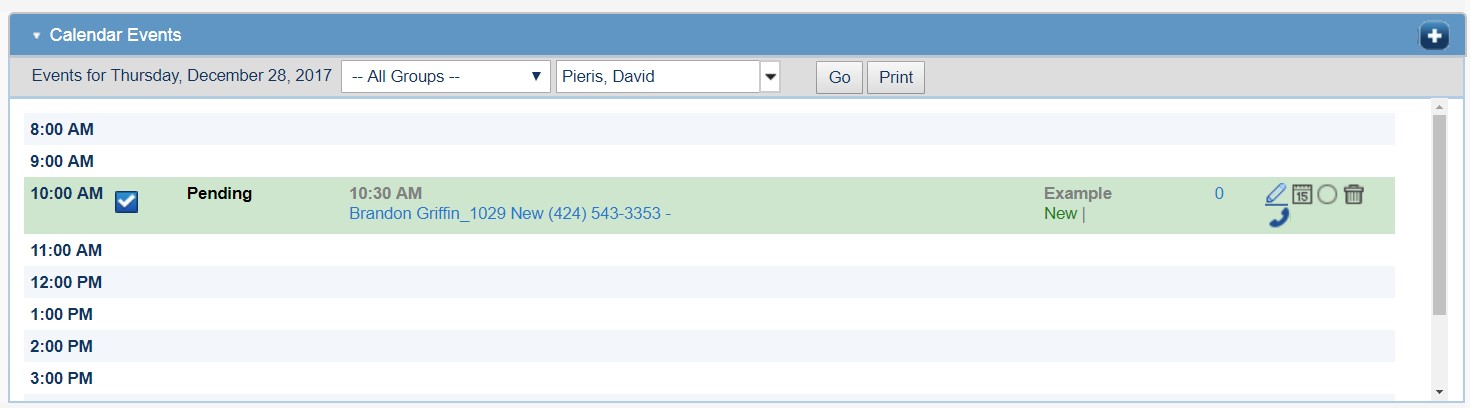
- Click the Edit Icon to open the calendar event popup to edit Calendar Event details
- Dashboard Calendar and Calendar Events
- Depending on your role, the Dashboard Calendar with have slightly different functionality.
- User - displays Calendar Events for their own leads.
- Group Manager - displays calendar events for all users in the group he manages. Group Managers can set Calendar Events for their own leads and for leads assigned to the users in his group.
- Administrator - An Administrators dashboard calendar displays calendar events for all users. Administrators can set Calendar Events for their own leads and for leads assigned to any other user in the system.
- If you are an Administrator or Group Manager, you can select groups and/or users from the drop-down menus on the Dashboard Calendar.
- Select All Groups, All Users, or select a subset of groups and/or users and click the Go Calendar Events scheduled for the selected users will appear in the Dashboard Calendar.
- View and edit your Calendar Events on the Dashboard Calendar.
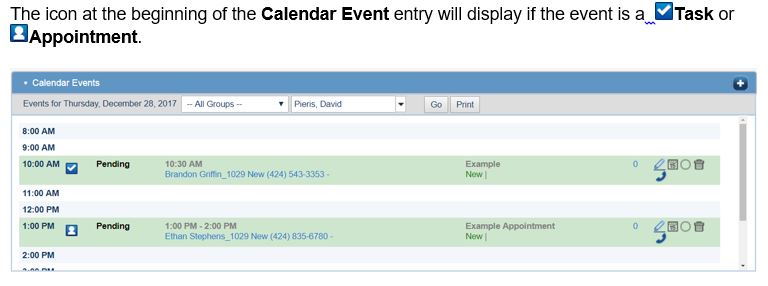
The icon at the beginning of the Calendar Event entry will display if the event is a Task or Appointment.