How To: Set up an Automatic Email or Email Drip Campaign
TOPICS COVERED IN THIS ARTICLE
- How to Set up an Automatic Email or Email Drip Campaign
ENVIRONMENT
LeadManager – Advanced Edition Only
STEP BY STEP INSTRUCTIONS
Advanced Edition clients can add emails, define what status or action triggers an email, and build special timing and sending condition rules to create fully customized email drip campaigns.
Step 1: Compose (Add your email template)
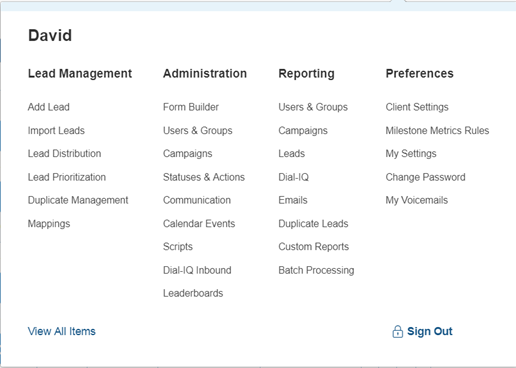
Access the Menu page by clicking your name in the upper right of the header.

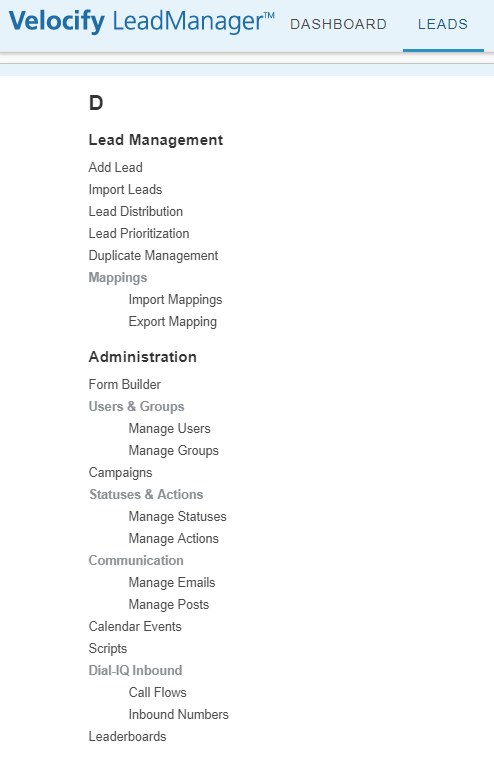
Click View All Items.
Click Manage Emails (listed under Administration> Communication).
Click the Add New Email button on the Manage Emails page.
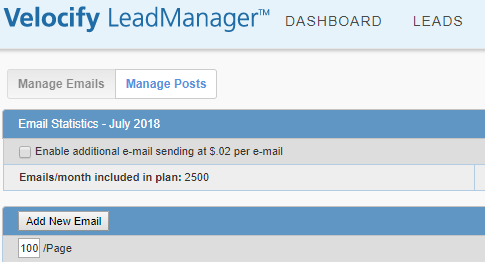
This opens the Add Email Template page
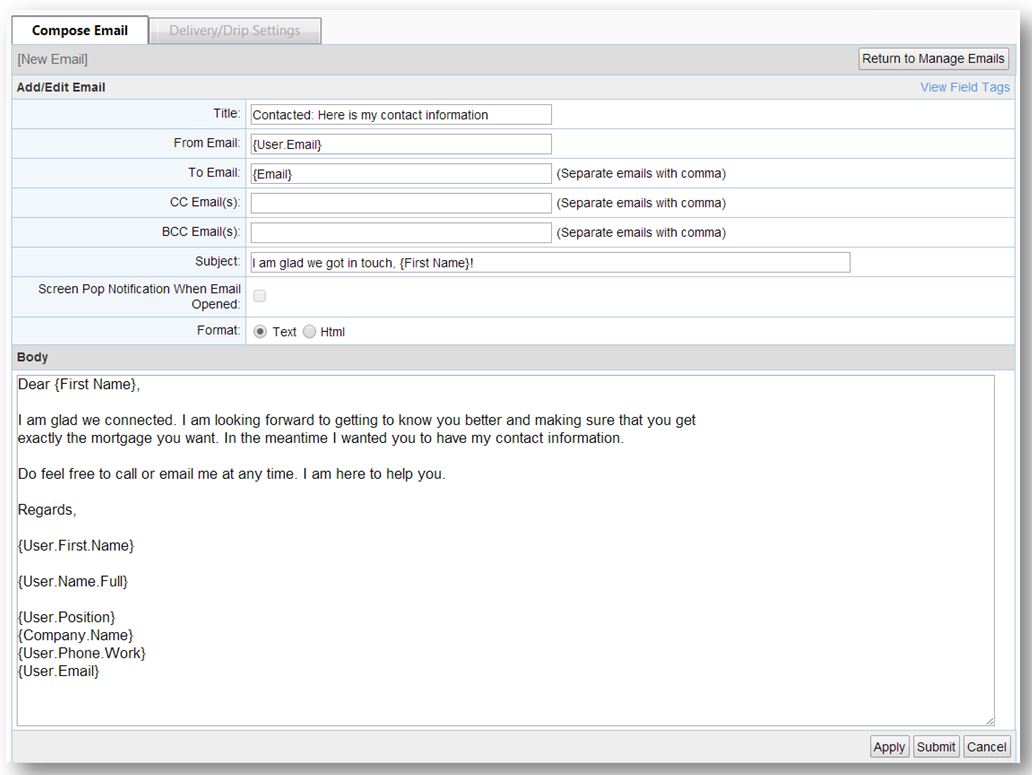
Compose the email content, and click Apply to save.
Adding an email here is very much like composing an email in any email client (such as Gmail or Outlook). One difference is the ability to use Field Tags. Field Tags act as placeholders that allow lead-specific information to be included in your email copy. For example, the lead's first name can be included in the email salutation by using a Field Tag.
Step 2: Set Conditions (Add sending delays and conditions)
Send Delay and Send Conditions are established within an email on the Delivery/Drip Settings tab.
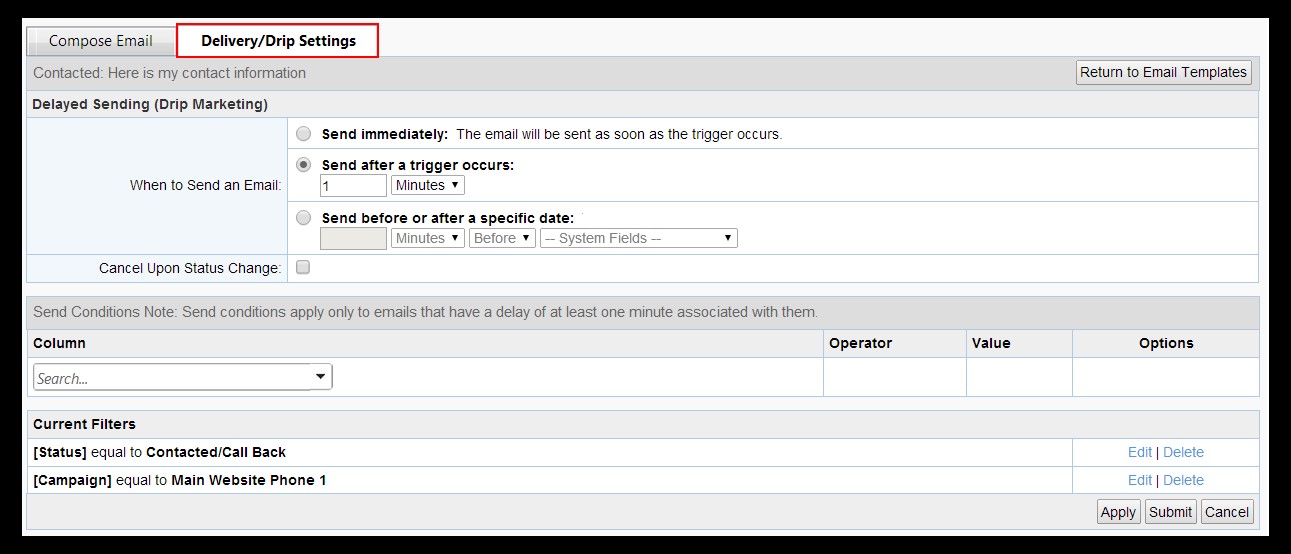
- Send Delays: Should the triggered email be sent immediately, or be sent after a timed delay?
- Send Conditions: Should the triggered email be sent for some leads only?
These settings are particularly helpful when creating drip email campaign, where a series of emails are scheduled to go out over a period of time.
Example: When a lead moves into the Contacted status 2 follow-up emails should be queued, but they should be sent 3 and 6 days after the trigger and only for leads in the Website Campaign.
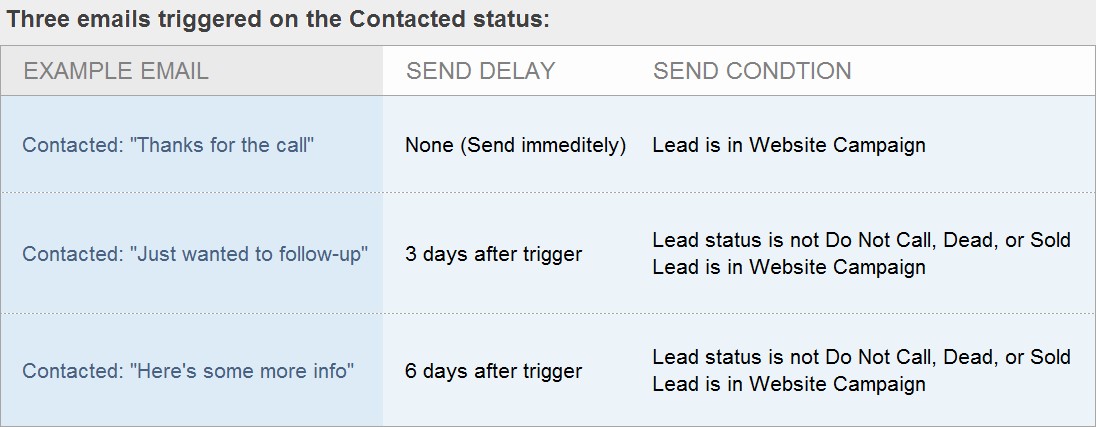
The Send Delay settings ensure that the sending of the emails is staggered over a week period.
The Send Conditions settings will perform a 'final check' on the lead before the email is sent:
- Is the lead still in a status where it would make sense for them to receive this email?
- Is the lead in the 'Website' campaign?
Details on this tab are available here.
IMPORTANT: The most common mistake made in setting up automatic email is confusing Send Condition filters under an email’s Delivery/Drip Settings tab with triggers.
- Adding a Send Condition to an email will not trigger an email.
- An email can only be triggered by associating it with a status or an action.
- This process is detailed below in Step 3.
Step 3: Set a Trigger for the Email (Associate your email with a status or action)
The event that queues an email to be sent is referred to as a trigger.
In Velocify, the trigger is either a status change or action taken. In this step you will decide at what stage along your sales process someone should receive a particular email.
In other words, what status or action is this email message related to?
For example, when a lead moves into the Contacted status a "Thank you for speaking with me" email should be queued.
Access the Menu page by clicking your name in the upper right of the header.
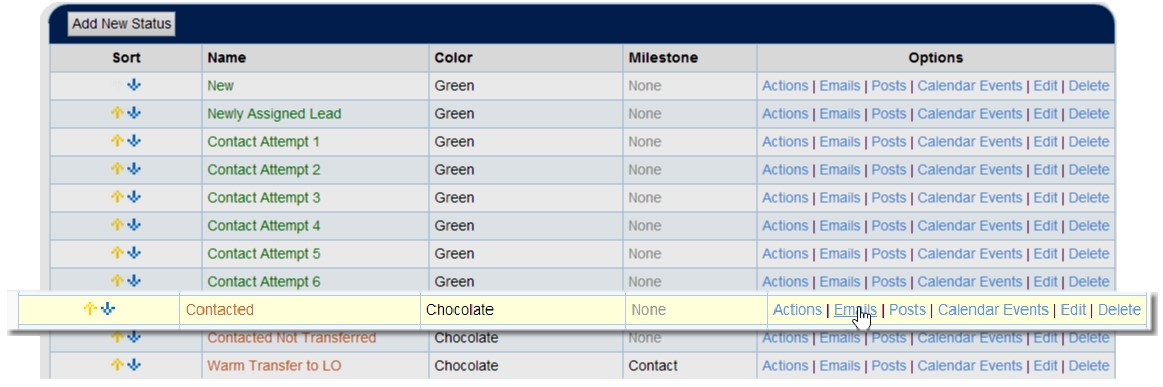
Under Administration, click Statuses & Actions.
Select the Emails option corresponding to the status or action that will trigger the email.
The following page allows an email (or emails) to be associated with the status or action:
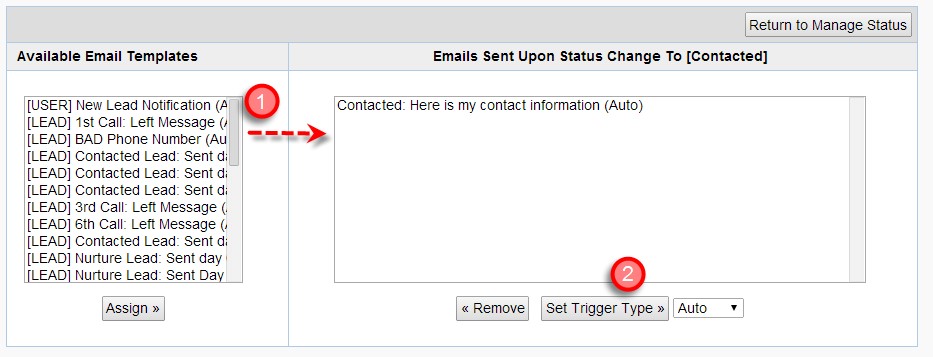
- Select the desired email from the Available Email Templates and click Assign.
- Set Trigger Type to Auto.
- Once the template(s) have been selected, click Return to Manage Status.
Step 4: Enable Email
New emails will not begin to fire until they are enabled / turned on. This is the last step in the process.
Once an email is enabled it will begin to fire emails based on the trigger and delivery / drip settings.
Return to the Manage Emails page
Access the Menu page by clicking your name in the upper right of the header.
Click View All Items.
Click Manage Emails (Administration> Communication).
Locate the email template.
To the right, under the enabled column, click No and it will turn to Yes.

The email is now enabled.