LeadManager: Custom Reports: Report On When an Action is Taken on a Lead
TOPICS COVERED IN THIS ARTICLE
-
How To Report On When An Action Is Taken On A Lead
ENVIRONMENT
LeadManager (Advanced Edition Only)
STEP BY STEP INSTRUCTIONS:
This report will allow you to track when an action is taken on a lead record in LeadManager.
How to Create This Report:
- Access the Menu page by clicking your name in the upper right of the header.

- Under Reporting, click Custom Reports.
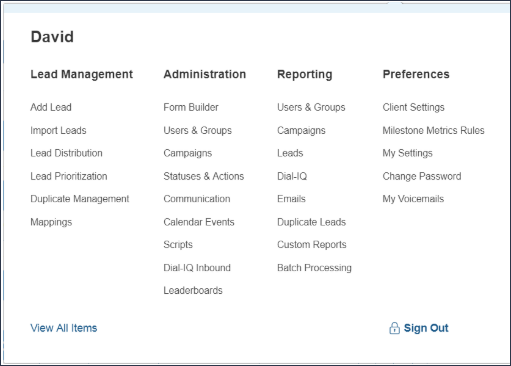
- In the upper left hand corner of the first window, click the Create New Report button.

-
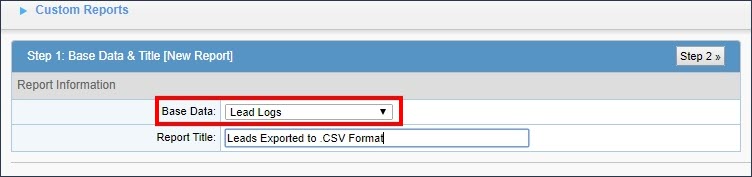
Using the Base Data drop-down, select Lead Logs.
-
In the Report Title box add a title for this report.
- Proceed to Step 2 by clicking the Step 2 button in the upper right hand corner of the report menu.
For this step you will want to bring over the following fields from the left to the right:
-
Log Type
-
Log Actor
-
Log Date
-
Id
-
Campaign
-
Status
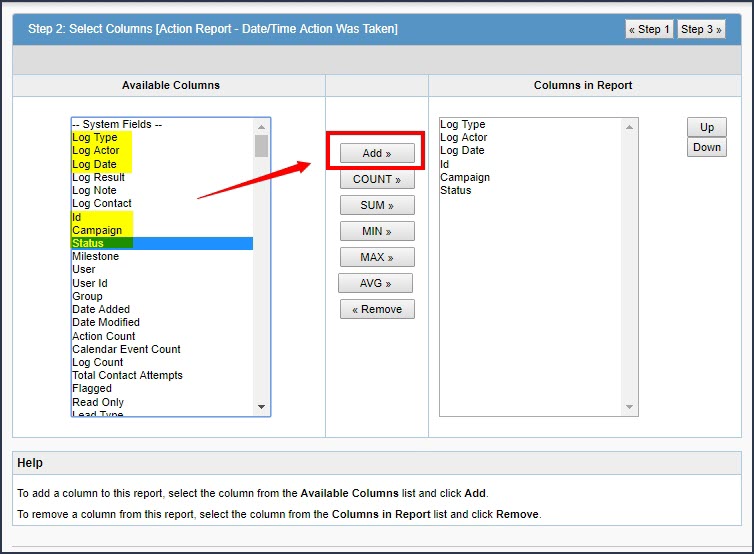
You can add more fields to this report.
-
Proceed to Step 3 by clicking Step 3 in the upper right hand corner of the report menu.
-
Now you will add the following filters to this report:
-
Log Type equal to {Select action you want to report on}
-
Log Date greater than or equal to {Select Add Template button on the right with no date chosen for Value field}
-
Log Date less than or equal to {Select Add Template button on the right with no date chosen for Value field}
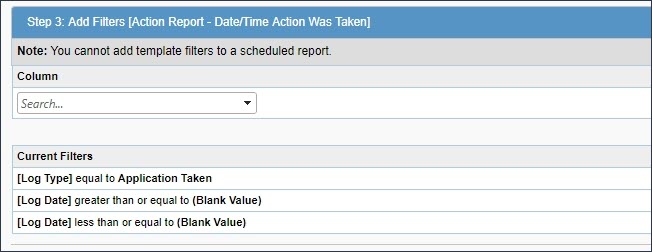
- Click Save & Run in the upper right hand corner of the report menu.
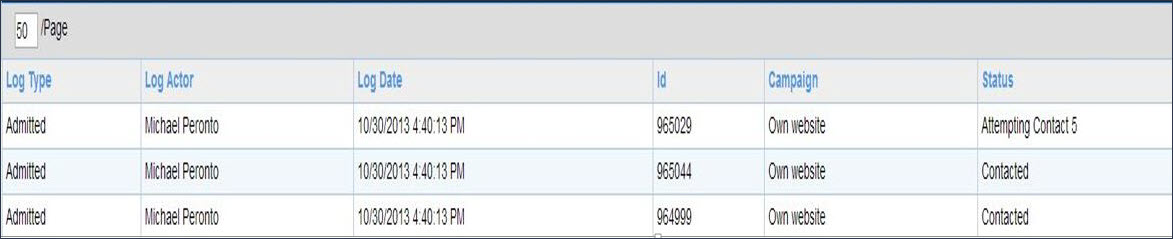
This is how your report will display and here is the definition for each columns results.
-
Log Type - The action being taken
-
Log Actor - Which user took the action
-
Log Date - The date the action was taken
-
Id - Lead ID of the Velocify Record
-
Campaign - Current Marketing Campaign from Velocify
-
Status - Current Status of the lead record
See Also
How To: Report When a Status Change Occurs