How To: Change the Columns That Appear on the View Leads Page
TOPICS COVERED IN THIS ARTICLE
- How to change the columns that appear on the View Leads page
ENVIRONMENT
LeadManager
STEP BY STEP INSTRUCTIONS
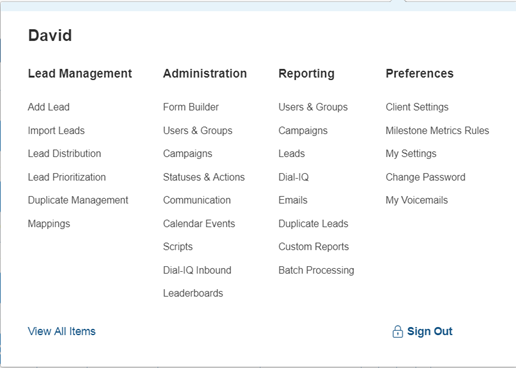
Access the Menu page by clicking your name in the upper right of the header.

Under Preferences, click Client Settings.
Click the Lead View: Columns tab.
- This tab allows Administrators to specify what fields appear on the Normal and Priority View pages, and what order they appear in.
- The Included Columns pane lists the fields shown as columns on your Normal and Priority View pages from left to right.
- The Excluded Columns pane contains all other fields in the LeadManager.
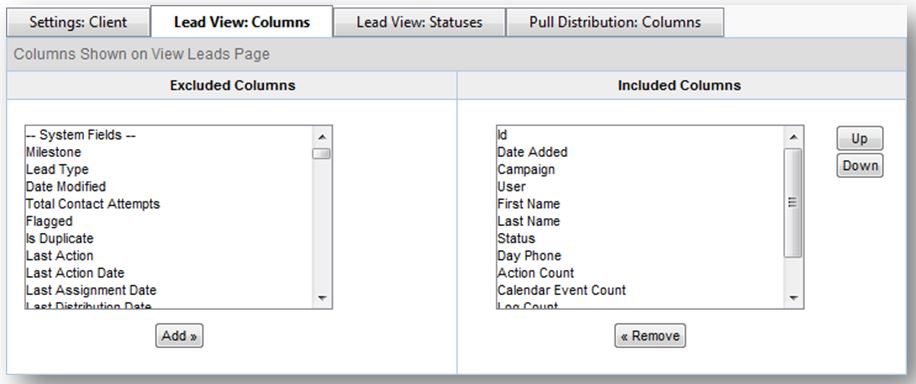
- To add a column to the View Leads page, select one or more fields on the left, and then click the "Add »"
- To remove a column from the View Leads page, select one or more fields on the right, and then click the "« Remove" button.
- To reorder the columns on the View Leads page, select one or more fields on the right, and then click the Up and Down
- The layout that you specify here may be overridden by individual group or user settings. Therefore, if a user or group's members do not see changes that are made on this page, please go to Menu > Administration > Manage Users, or Manage Groups and click the "Settings" link to the right of the user or group's name to adjust individual user or group’s settings. (See "Manage Users - Settings" and "Manage Groups - Settings" for more information.)
- The default settings on the Normal and Priority View pages are configured to make sure agents have access to the most important pieces of information about leads. But you may decide that there are other pieces of information you want agents to see to make more effective decisions. If your agents are making calls all over the country, you may want to include Time Zone. This will enable agents to sort their leads by time zone, which they may want to do near the beginning or the end of the work day.