Prioritization: Priority Queues
TOPICS COVERED IN THIS ARTICLE
- What Is Prioritization
- How Priority Queues Work
- What is displayed on the Lead Prioritization Page
- How to add or edit a Priority Queue
ENVIRONMENT
LeadManager – Advanced Editions only
DETAILS
What is Prioritization?
- Lead Prioritization is a feature that enables administrators to create queues that prioritize leads. Priority queues automate the process of finding the leads which are most in need of being contacted at any given moment.
- How much time is spent figuring out which call to make next? Lead Prioritization eliminates the time spent figuring out which lead should be called next. If the question, “Who should I call next?” is always answered for a user, that user will more quickly and consistently move through their leads. And they’ll move through a queue of leads that are most likely to close based on criteria you choose.
- For an overview of how prioritization works, please reference the related article.
- Prioritization is automatically enabled for all LeadManager Advanced Edition and Standard Edition clients. By default, the rules determining how leads are prioritized are based on best practices for your industry and cannot be customized for LeadManager Standard Edition clients. This configuration can only be further customized by LeadManager Advanced Edition clients.
How Priority Queues Work
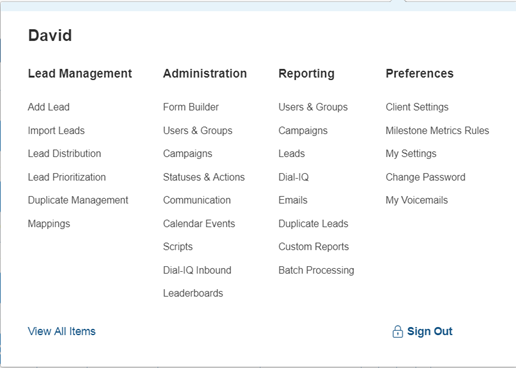
Access the Menu page by clicking on your name in the upper right of the header.

Under Lead Management, click Lead Prioritization.
The Priority Queues Page will load.
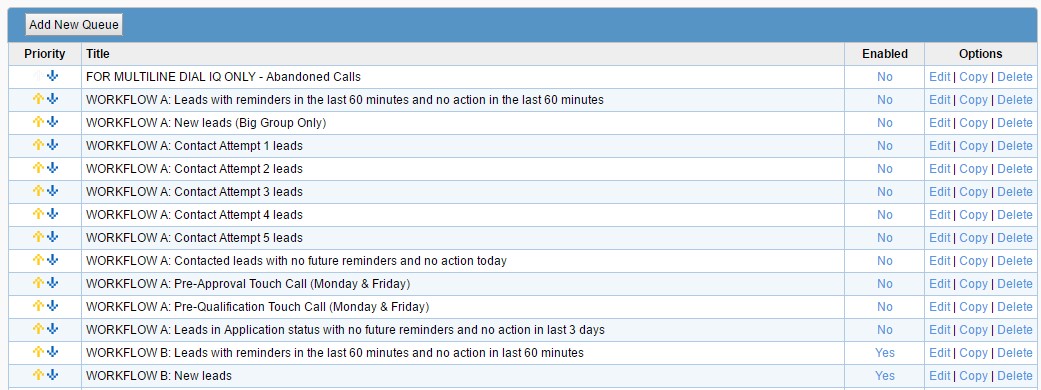
On this page lead queues can be configured and edited. See below for basic information on how Lead Priority Queues work:
- Administrators are able to create queues and define which leads qualify to be in a queue. An example could be a “New Leads” queue that would have filters to catch leads with [Status] equal to “New” and [Date Added] within “Today.”
- Administrators can prioritize existing queues using the arrows on the left side of the page. All leads that qualify for the filters in a queue inherit that queue’s priority. Any lead that is in the top priority queue, for example, will have a higher priority than any lead in the second or third priority queue.
- If more than one lead qualifies for a given queue, the leads are prioritized within that queue by date added to the system (i.e. the lead most recently added to the system will have the highest priority).
- Queues are defined by filters, similar to distribution programs. Thus, it is possible that a single lead can qualify for the filters in multiple queues and be eligible for multiple queues. Any lead that is caught by multiple queues will appear in the queue having the highest priority.
- Depending on the filters that are in prioritization queues, it is possible that leads may be pushed from one queue to another. This can happen if a lead meets the filters for one queue but is then updated or has an action taken in it, making it qualify for a different queue.
- Queues are not updated in real time. They are refreshed every time the page loads.
What is Displayed on the Lead Prioritization Page
The following columns appear on the Lead Prioritization page:
- Priority: Set the priority of the queue in relation to the other queues by clicking the arrow in the Priority column to set its position. Queues higher in the list are of a higher priority.
- Title: This displays the title of the priority queue
- Enabled: Click the value in the Enabled column to toggle between Yes or No. If you do not plan to use the prioritized leads into a given queue, set the value in this column to ‘No’.
- Options
- Edit: edit a queue by clicking the queue’s [Edit] link
- Copy: copy a queue is an easy method to create new queues
- Delete: delete a queue by clicking the queue’s [Delete] link.
How to Add or Edit a Priority Queue
Access the Menu page by clicking on your name in the upper right of the header.
Under Lead Management, click Lead Prioritization.
- Click the [Add New Queue] button at the top left or click the [Edit] link to edit an existing queue.
- Queue Details tab: If you are creating a new queue, give the queue a Title and click [Save] for the queue to be created.

- Once saved, additional details will appear on the Queue Details tab to further configure the queue.
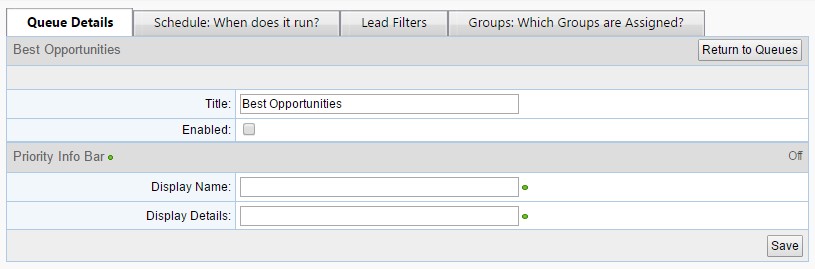
- Title-- This field allows you to edit the title of the queue
- Enabled-- This checkbox determines whether the field is enabled or disabled
- Display Name-- If Priority Info Bars are enabled, this field determines the name that will display on the info bar in the Priority View page
- Display Details-- If Priority Info Bars are enabled, this field determines any additional information that will display on the info bar in the Priority View page
- Click the [Save] button to save any changes made to the Queue Details tab.
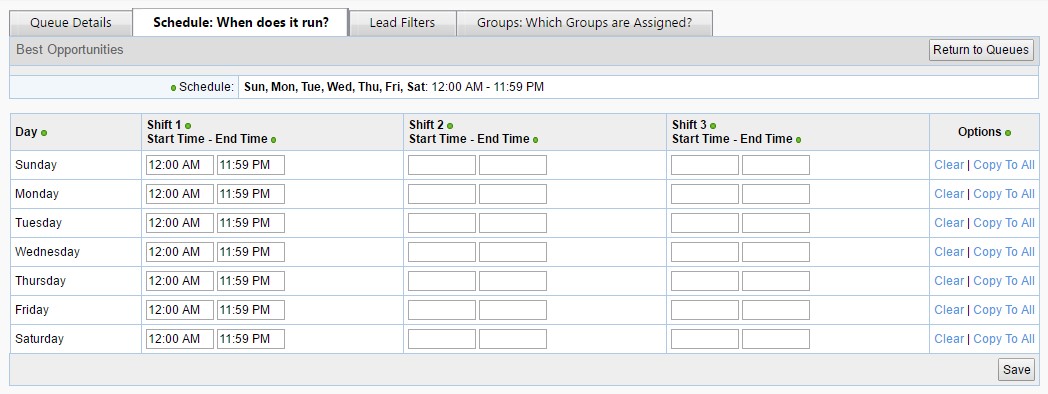
- Schedule: When does it run? Tab
- If you would like the priority queue to only be enabled during specific hours of the day, you can set the schedule of the queue on this tab. The page provides options to let you schedule the queue for different hours of the day Sunday through Saturday, and it also allows you to have multiple shifts each day (e.g. to have the queue run from 8:00 AM – 9:00 AM each day, then also from 2:00 PM to 3:00 PM). Times are based on the client time zone, found on the Client Settings page.
- Unless needed for a specific business purpose by your company, it is usually best practice to set the priority queue to run during your work hours each day, or for 24 hours per day.
- Lead Filters tab. Set the filters on the Lead Filters tab to determine which leads will be prioritized into this queue.
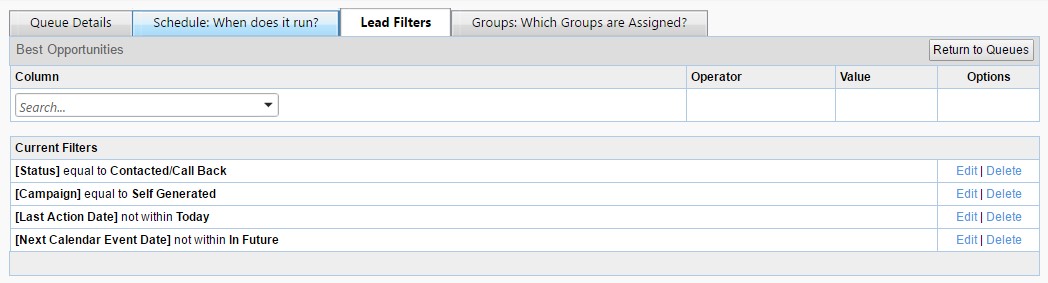
- Keep in mind that if a priority queue has no filters, every lead in Velocify will qualify for the queue at all times, even after an action is left. It is therefore best practice to add filters for two purposes: 1) Filter for the leads that should qualify for the queue, and 2) filter based on the time frame between actions so that the lead will not qualify until a specified time after the last action was taken.
- For example, below is a list of filters that are commonly placed together in a priority queue. The first two filters indicate what type of leads would qualify: leads in the Self Generated campaign and also in the Contacted/Call Back status.
- The third filter indicates the time after an action is taken before the lead qualifies again. In this case, once an action is taken on the lead it no longer qualifies for this queue until the next day, when the last action date is no longer that same day.
- The final filter is often best practice to have in priority queues. By adding a filter indicating that the next calendar event date should not be in the future, any leads that have a future calendar event will no longer appear in this queue. This prevents leads with a scheduled appointment from being call prematurely, until the time of that calendar event.
- [Status] equal to Contacted/Call Back
- [Campaign] equal to Self Generated
- [Last Action Date] not within Today
- [Next Calendar Event Date] not within In Future
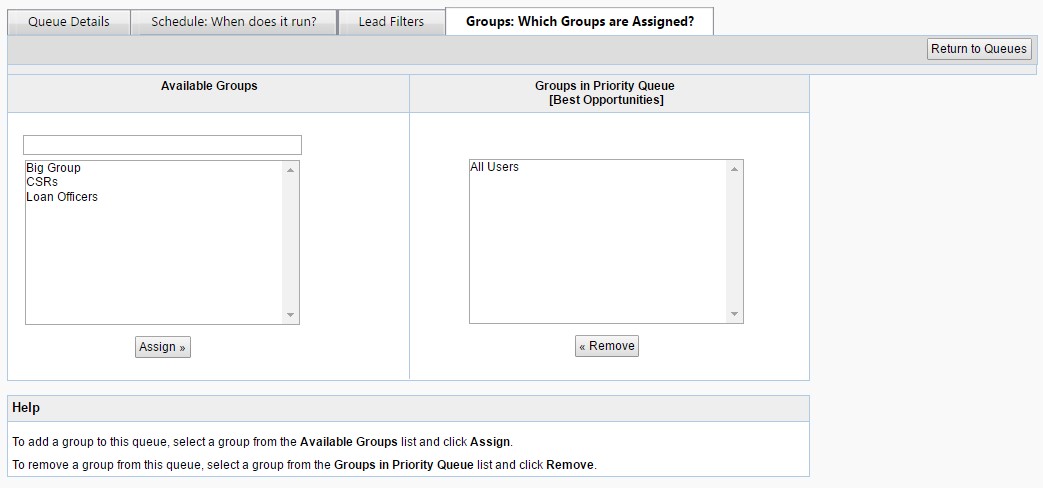
- Groups: Which Groups are Assigned? Tab
- In this tab you can designate which groups (from the Manage Groups page) will be using this priority queue. This is useful if your company has people using Velocify for different purposes (e.g. call openers versus closers) because it lets their leads be prioritized differently.
- Unless needed for a similar business purpose by your company, it is normally common practice to have “All Users” in the Groups in Priority Queuesection, indicating that the priority queue is enabled for all Velocify users.
How To See the List of Prioritized Leads?
- Once the priority queues are configured and enabled, access the list of prioritized leads by navigating to Leads – Priority View.
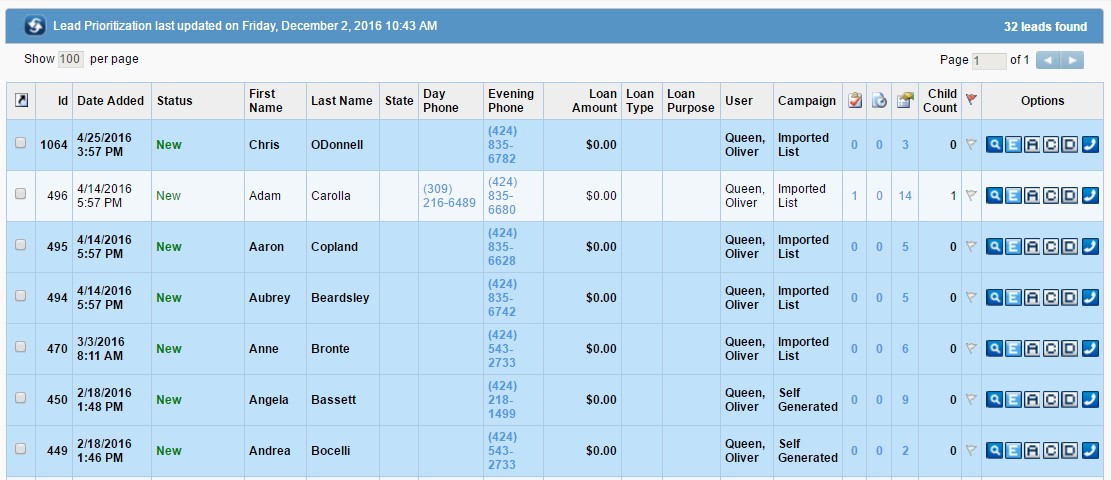
- The Priority View is similar to the Normal View, yet it does not contain the ability to filter or sort leads. The reason filtering and sorting is not available is because these leads are already sorted and prioritized in real time by the priority queues. The list is limited to the top 100 leads that qualify for the priority queues, unless Single Lead Priority View is enabled.
- The idea behind the Priority View is that it takes the guesswork out of figuring out which lead is most in need of contact. When priority queues are configured properly, the lead most in need of contact will be at the top of the list. For that reason, this list of prioritized leads should be worked from top to bottom, since users should always contact the lead at the top of the list.
- When a user takes an action on a lead, the lead will disappear from the Priority View and reappear when it is due for another contact attempt, based on the [Last Action Date] or [Last Contact Attempt Date] filter set in the priority queues.