Manage Posts: Detailed Review
TOPICS COVERED IN THIS ARTICLE
- What Is the XML Poster
- How To Enable the XML Poster
- What Completed Prior to Creating a Post
- How To Create a Post
- Set Up Drip Settings and Filters
- Set Up Status or Action Trigger
- What is the Response Conditions Feature
- How The Posts Are Logged
- What Posting Methods Are Supported
- What Else is Displayed on the Manage Posts Page
ENVIRONMENT
LeadManager
DETAILS
What Is the XML Poster
The XML Poster on the Manage Posts page is a feature allowing Velocify™ clients to directly create and manage the posting of lead data from the LeadManager to an external system, such as a third party dialer, loan origination software, or marketing software.
Using this feature requires some technical expertise; a basic familiarity with the concepts of XML, Web Service, or HTTP POST methods is helpful.
Once a post is created, it can be associated with status and action changes and can also contain filters or drip settings. This can allow clients to set up a post that will deliver lead data when a lead is X days old, has a certain value in a field, or is in a particular status.
What Should Be Completed Prior To Creating a Post
Before setting up a post using the XML Poster, you will need to complete the following steps:
- Confirm that you have access to the Manage Posts page, found at Menu – Administration – Manage Posts
- Contact your third party application to request the following information
- The posting method that they accept (posting methods supported by Velocify are Web Service, XML, URL-encoded HTTP POST, and URL-encoded HTTP GET)
- A sample of the XML or posting string, including a header if required
- The destination URL to which you will be posting data
How To Create a Post
Similar to setting up a new email on the Manage Emails page, creating a new post is a three-step process.
- Build the post template
- Set up the drip settings and filters
- Set up the status or action trigger
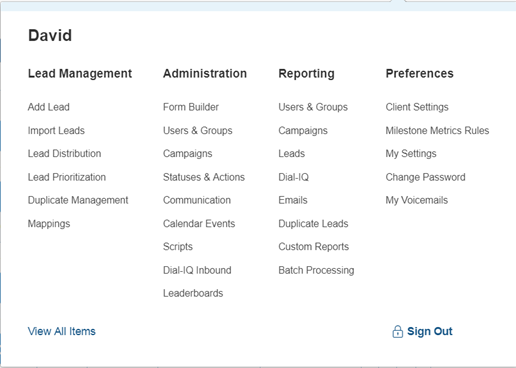
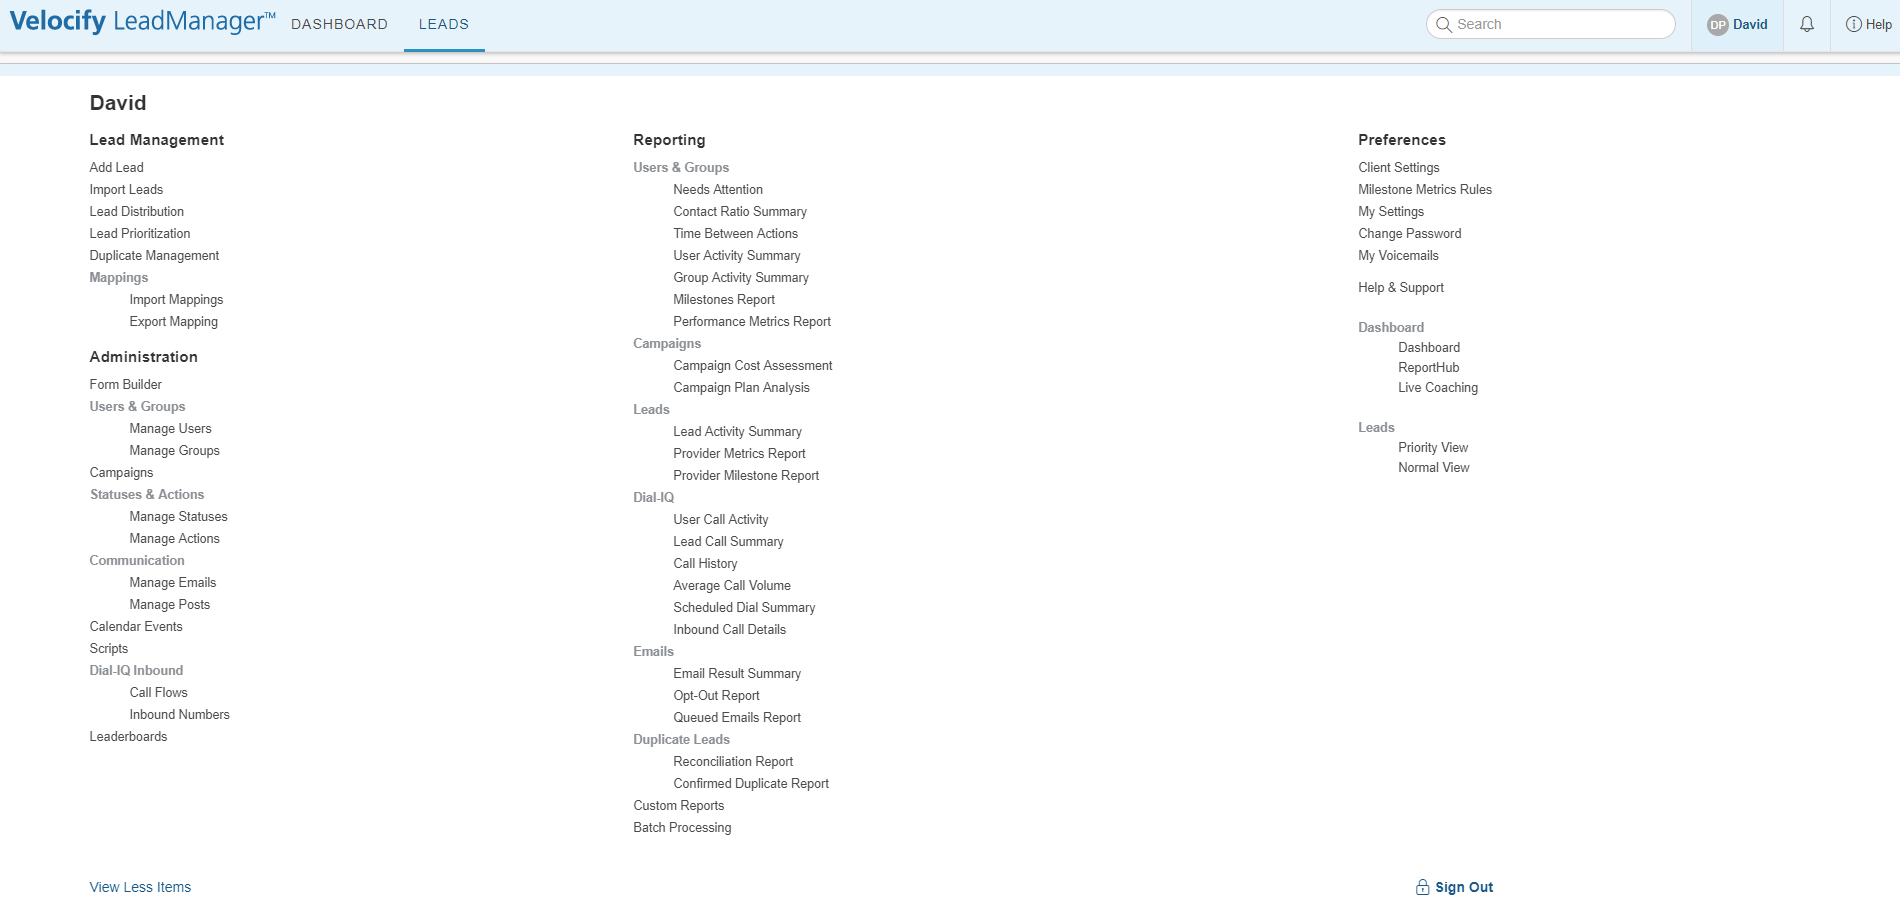
Access the Menu page by clicking your name in the upper right of the header.

Click View All Items.
Click Manage Posts (Administration - Communication).
Click the [Add New Post] button at the top of the page to access the Compose Post page.
With the help of your third party application, fill out each piece of information as necessary.

- Title– Enter a descriptive title of the post
- URL– Enter the URL to which data is posted
- Type– Select the appropriate posting method based on the receiving application’s requirements:
- XML Web Service POST
- URL-encoded POST
- URL-encoded GET
- Header– Enter any header information (generally required only for a Web Service POST) based on the receiving application’s requirements
- Update Lead– Select from dropdown if the response from this post should update the lead in Velocify in some way. This feature is only used for applications that post back lead data updates (e.g. Nylx).
- Body– Enter the XML or Web Service code provided by the receiving application. The values within the code should be replaced with field tags to grab specific lead data for each post. The complete list of available field tags may be viewed by clicking the View Field Tags link.
- Response Conditions– Enter a response condition if you intend to trigger additional events based on the response received from the third party application (see below for more details)
Click [Submit] when finished.
- Once the post is built, select the Settings link next to the post to set up the necessary drip settings or filters.
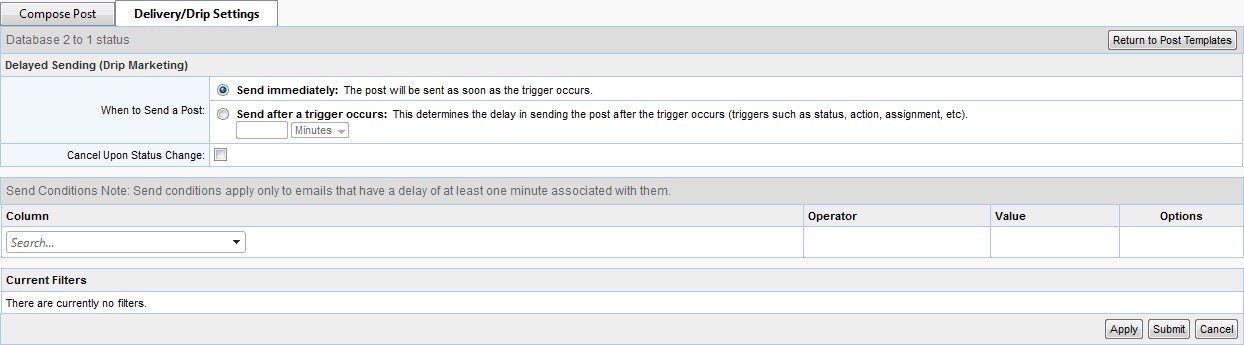
- This will bring you to the Delivery/Drip Settings tab.
- The top section of this tab is where you can decide whether the post will send immediately when the status or action trigger is reached, after a defined period of time after the trigger is reached, or before or after a specific date.
- The bottom section is where you can add filters to the post, dictating if the post should send only for leads that meet certain criteria. For more information about filters, see the related Help & Support article. Select [Apply] or [Submit] at the bottom of the page when finished.
When adding filters to a post that is not scheduled to be sent immediately, the filters must be met both when the post is queued and when the post is sent. For example, if you have a post set to trigger 10 minutes after the lead reaches the Contacted/Call Back status, and that post has a filter requiring the lead’s first name to be Tommy, the first name will have to be Tommy both when the lead reaches the Contacted/Call Back status (i.e. when the post is queued) and ten minutes later (i.e. when the post is sent). If the name is changed to Thomas between those times, the post will no longer meet the filter and will not be sent.
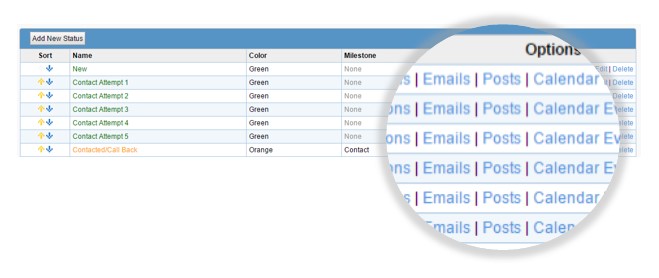
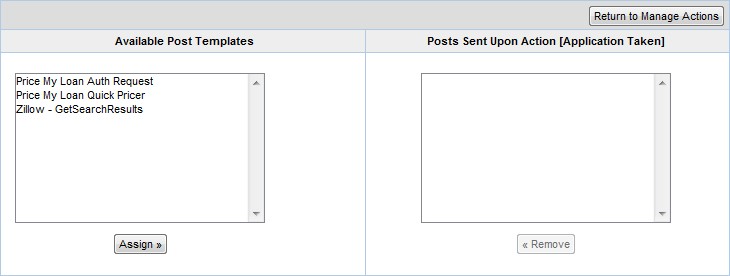
- Posts can be triggered by either a status or action, similar to how emails are triggered. On the Manage Status or Manage Actions page select the [Posts] link next to the status or action that should trigger the post.
- Choose the post template from the left of the page and select [Assign] to associate the post with that status or action.
What is the Response Conditions Feature
This feature is used when a client wants to trigger another post or email based on the response returned by a receiving application. For example, you can set up a response condition to send an email to yourself if a post return the word “Failure” in the response, notifying you that the post has failed.
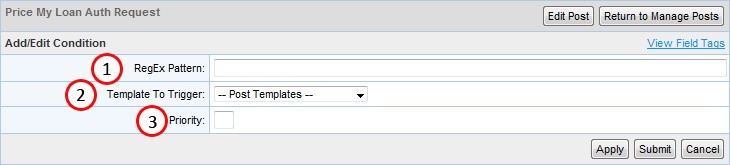
- Regex Pattern– Enter the specific text response from the receiving application that will trigger an additional post. If the specific text response is a part of a larger response code (i.e. if you want to look for the word “Success” within the response), surround the text with the values .* (for example, “.*Success.*”).
- Template To Trigger– Select the template which should be triggered based on the response specified above
- Priority– If multiple conditions are specified, select the priority for order of additional postings
How Posts Are Logged
- Posts are logged in the lead history section of any lead that has the post triggered. To view the logs of a post, first access the Edit Lead page. In the History section, select either Log Only or Actions & Logs.
- If a post is set to trigger immediately when the status or action is taken, the post will have two logs. The first log has a log type of “Exported,” indicating that lead information has been exported to another application. The log note will give more details of the export, including links to view the full Request and Response of the post. The second log has a log type of “Post Sent,” indicating that a post was triggered, and the log note contains the title of the post.

- If a post is set to trigger after a specified time after the status or action is taken, a “Post Queued” log will first appear to indicate that the post will go out at the specified time. Once that time has been reached, the “Exported” and “Post Sent” logs will then appear to indicate the post has been sent.
Supported Posting Methods
The Data Poster supports four common posting methods, including XML Post, URL-Encoded Post (HTTP POST) ,URL-Encoded GET (HTTP GET) and Web Service.
Additional Information on the Manage Posts Page
From the Manage Posts Main Page, users may see a list of all existing posting templates and create new ones.

- Add New Post-- Click to add a new post
- Title-- The title specified for the post
- URL-- The URL to which the data is posted
- Options
- Edit-- This link takes the user to the Posting Details page
- Settings-- This link takes the user to the Drip Settings for the specified post
- Delete-- This link deletes the post template
- View Queued Posts-- Displays a list of all upcoming posts based on filter criteria