How To: Automatically Send an Email to New Leads
TOPICS COVERED IN THIS ARTICLE
- How to automatically send an email to new leads via Client Settings
- How to automatically send an email to new leads via Manage Status
ENVIRONMENT
LeadManager – Advanced Edition Only
STEP BY STEP INSTRUCTIONS
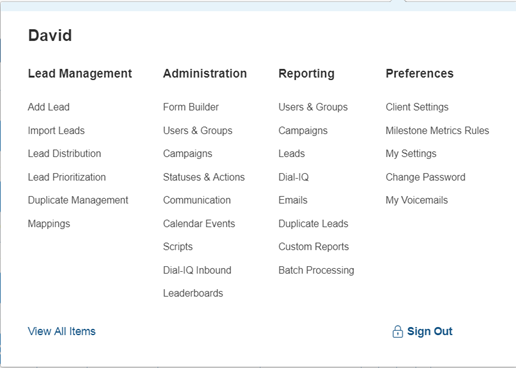
Access the Menu page by clicking your name in the upper right of the header.

Under Preferences, click Client Settings.

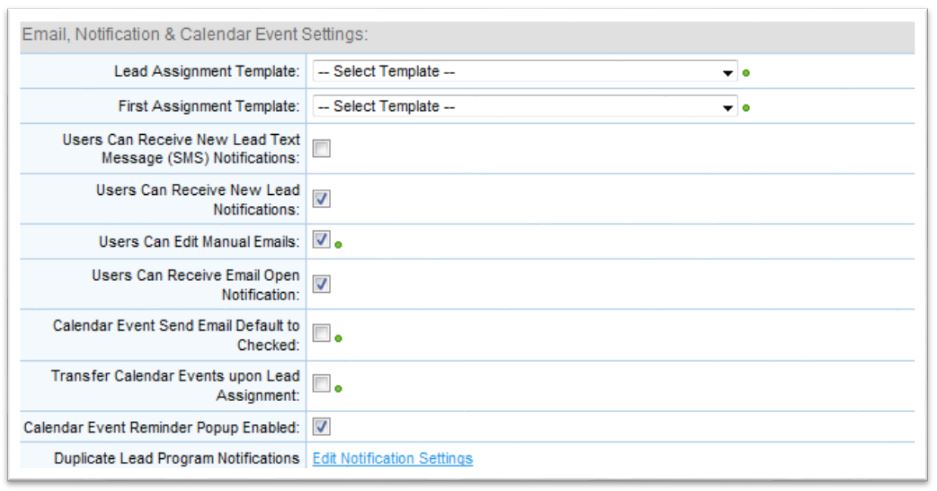
Scroll down to Email, Notification & Calendar Event Settings.

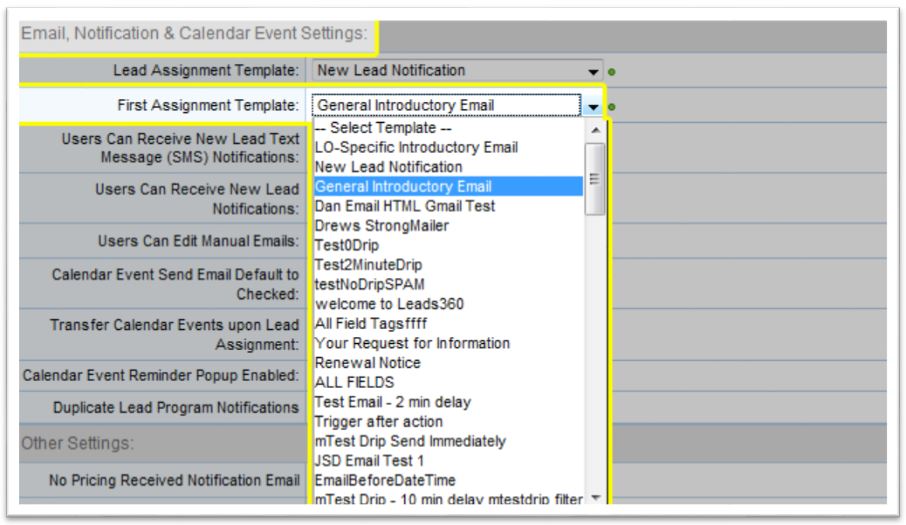
Select an email template from the First Assignment Email dropdown.
- The email you select will be sent the first time a lead is assigned to one of your users. This method sends a user-specific email (can include a user's email address, signature, etc.) to your prospect immediately upon lead assignment.

Method 2 - Manage Status Page
Access the Menu page by clicking your name in the upper right of the header.

Under Administration, click Statuses & Actions.

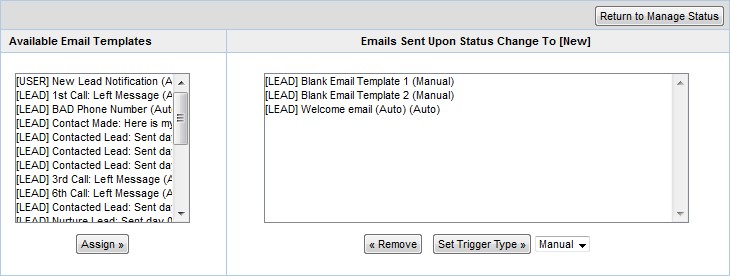
Click the "Emails" link to the right of the New Status.

Select the Email you want to be automatically sent to new leads and click Assign

Set Trigger Type to Auto or Both.

This will cause an email to be sent within a few minutes of the lead being added to your LeadManager.
- Note: Since this email could be sent before the lead is assigned to one of your users, the email you select should not contain any user-specific field tags.
- It should also be noted that if a lead is imported to a different status (as is possible with manual file imports) this email will not be sent.