Manage Groups: Creating a Hierarchy of Groups
TOPICS COVERED IN THIS ARTICLE
- How to Create a Hierarchy of Groups
ENVIRONMENT
LeadManager – Advanced Edition only
STEP BY STEP INSTRUCTIONS
Main Group
Your LeadManager comes with a "Main" group that simplifies the process of configuring settings for your users. For instance, you can set up rules to control the distribution of leads for all users within any group. Even if you do not have multiple teams of employees, we recommend that you add your users to a group.
If you would like to create a number of groups with a hierarchical structure:
- Plan your structure on paper.
- Note that a manager of a group has control over both their group as well as the sub-groups beneath them in the hierarchy.
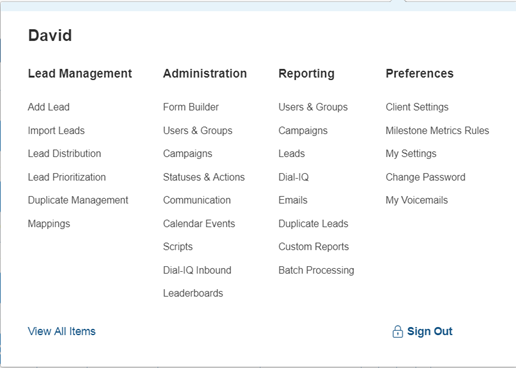
Access the Menu page by clicking your name in the upper right of the header.

Under Administration, click Users & Groups.
Click the Add New Group button.
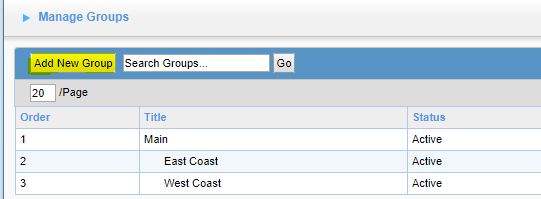
Enter a title for the group (e.g. "Team A"), choose a Parent Group (the parent group for Chicago Team A would be East Coast), and then click Submit.

Click the Users link to the right of a group,

Select the desired users from the Available Users pane, and then click Assign ».
Select the manager's name in the Users in group […] panel on the right and click Set as Manager.
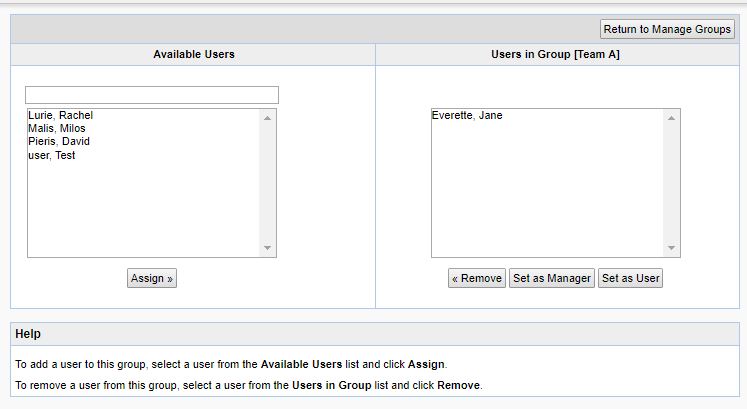
Click Return to Manage Groups, and then repeat for each remaining group in your company.