LeadManager: Custom Reports: Scheduled Reports
TOPICS COVERED IN THIS ARTICLE
- Scheduled Custom Reports
ENVIRONMENT
LeadManager (Advanced Edition Only)
STEP BY STEP INSTRUCTIONS:
Navigate to the Email Report page
Use Scheduled Reports if you would like a particular Custom Report delivered to your email on a regular basis. There are two ways to navigate to the page:
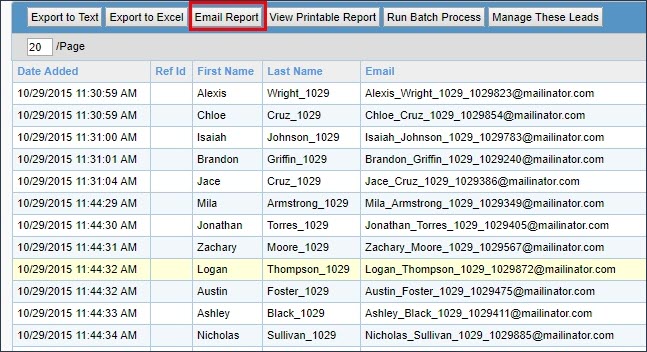
Option 1
Click the email report button after running a report.
Option 2
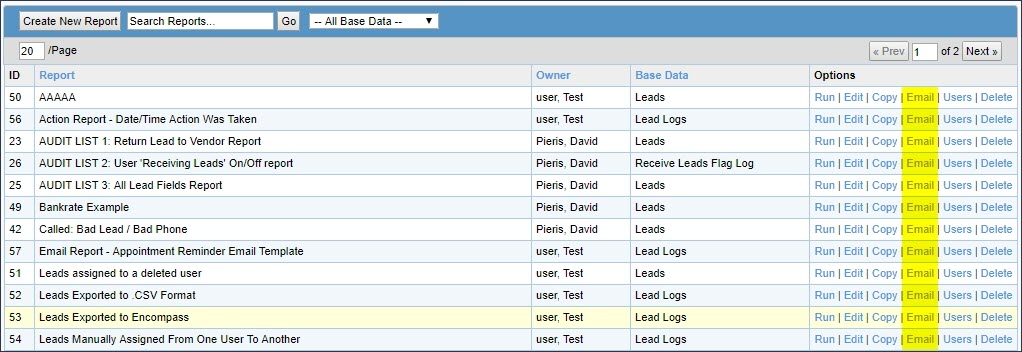
Click the Email link on the Custom Reports page. This example will demonstrate the second method.
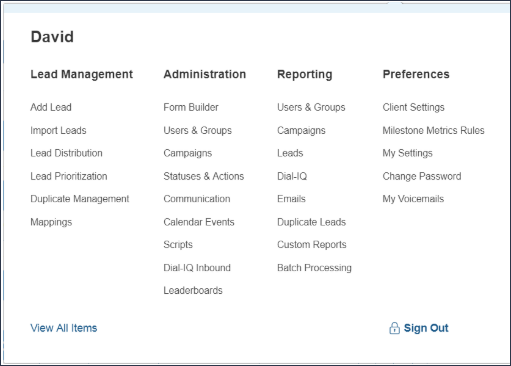
First, access the Menu page by clicking your name in the upper right of the header.

Under Reporting, click Custom Reports.
The Custom Reports page will load.
Click the Email link associated with the report you want to schedule.
Complete the Email Report form
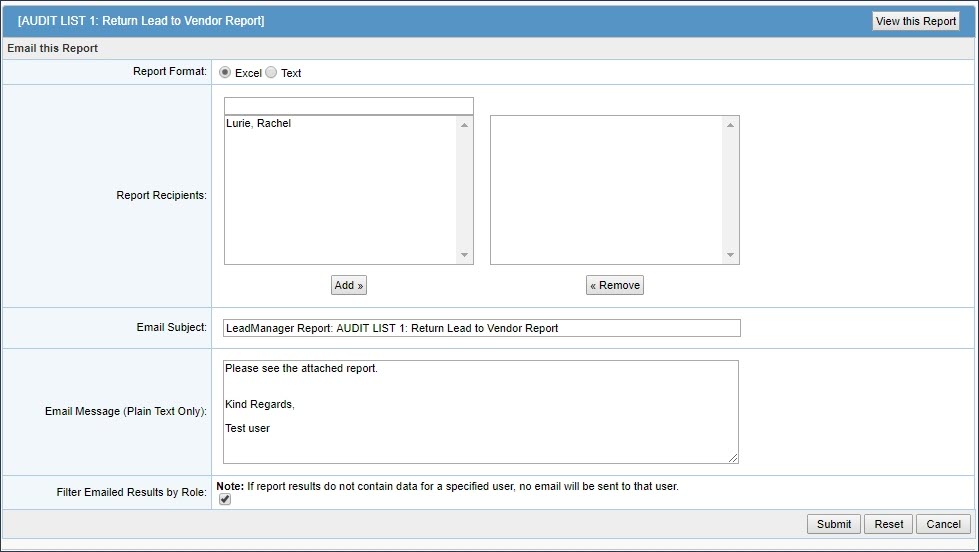
Complete this form to schedule the report. Configure the following settings:
-
Report format: Excel or Text
-
Report Recipients: Click to select names, then click the Add button
-
Email Subject: Enter your desired email subject line
-
Email Message: Enter content to appear in the body of the email
-
Filter Email Results by Role: Leave this box selected to make sure report recipients only receive report results permitted by their role.
-
Schedule: Send the report immediately or schedule it to be sent once in the future, or at regular intervals.
Click Submit.
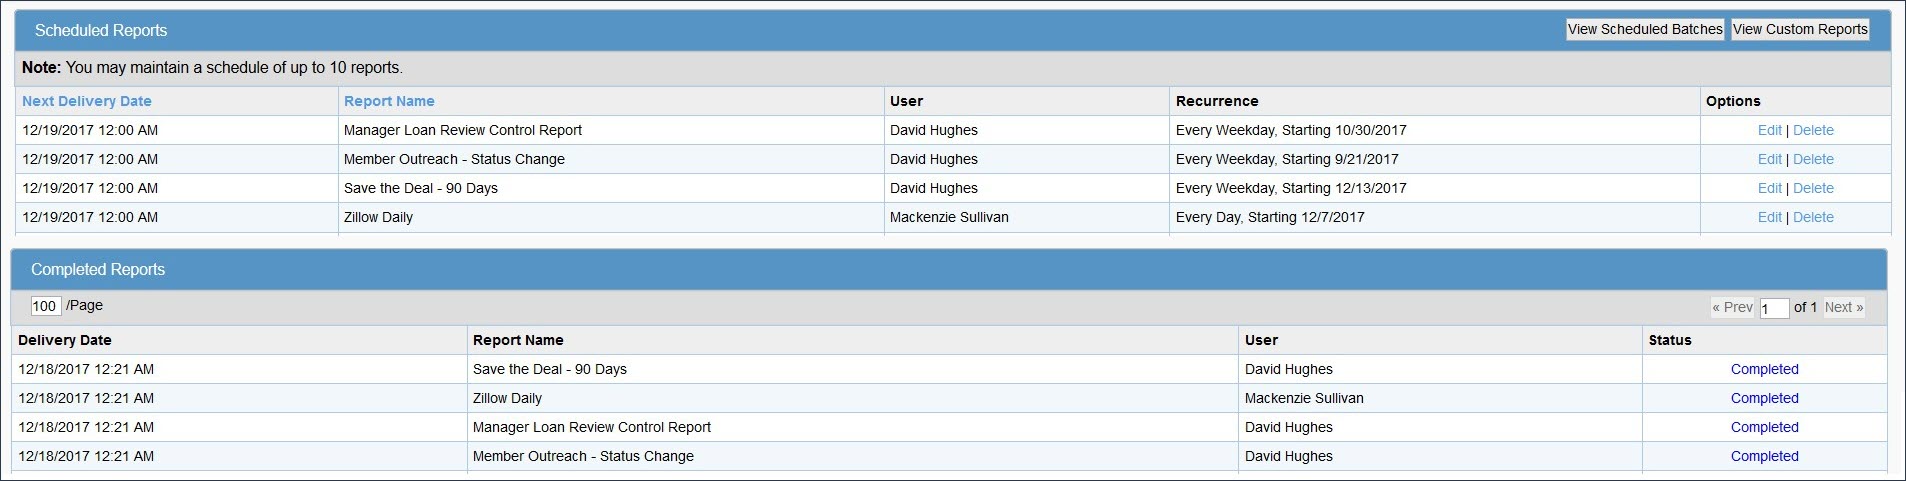
View a history of Scheduled Reports
First, access the Menu page by clicking your name in the upper right of the header.
Then, under Reporting, click Scheduled Reports.
The Scheduled Reports page has two sections.
-
The top section shows reports that are scheduled to be run.
-
The bottom section shows scheduled reports that have been completed.