Statuses And Actions: Setting An Action To Trigger A Status Change
TOPICS COVERED IN THIS ARTICLE
- Setting an action to trigger a status change
ENVIRONMENT
LeadManager – Advanced Edition only
STEP BY STEP INSTRUTIONS
Statuses and actions combine to help you create a workflow for your sales leads. When a user takes an action on the lead -- indicating that they placed a phone call, qualified the lead, etc. -- the lead will automatically change statuses to reflect where it now is in the workflow. To create that association between statuses and actions, follow these steps.
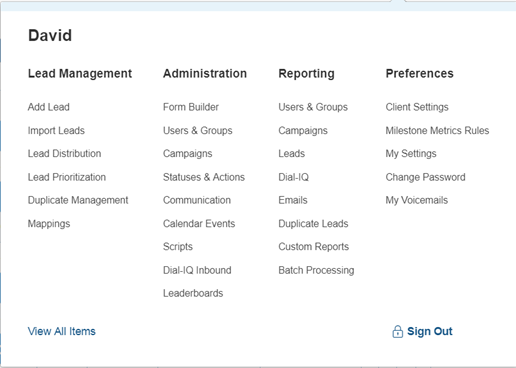
- Access the Menu page by clicking on your name in the upper right of the header.

- Under Administration, click Statuses & Actions
- Find the Status where the action is used and click Actions to the right of the status.

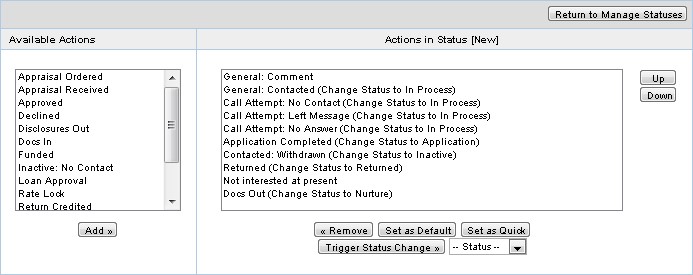
- Move any action you want to display in this status from the left menu, Available Actions, over to the right menu, Actions in Status [New].
- When you want an action to trigger a status change, click on the action in the menu off to the right.
- After you click on the action you will see a button called Trigger Status Change that has a Status drop-down to the right of it. Select the status you want the action to change to from the drop-down menu, then select Trigger Status Change.
If you performed the steps correctly you should now see in the menu to the right the action you had selected with a (Change Status to) text beside it.

Here is an example from the image above:
Contacted: Withdrawn (Change Status to Inactive)
This shows that when the lead is in the status of "New," then the action "Contacted: Withdrawn" will change the status to "Inactive."