Form Builder: Detailed Review
TOPICS COVERED IN THIS ARTICLE
- Detailed Review of Form Builder
ENVIRONMENT
LeadManager – Advanced Edition Only
DETAILS
The form builder is the tool you use to edit or customize your lead form. The fields listed on the Form Builder are the fields that appear on your lead form.
Use the Form Builder to:
- Add data fields to your lead form
- Change the order of data fields on your lead form
- Move a data field from on tab to another tab
- Create a new tab on your lead form
How to Access the Form Builder
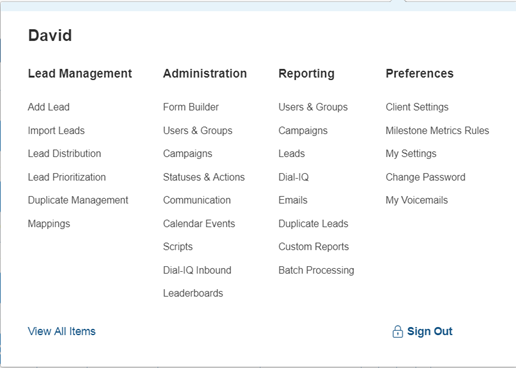
Access the Menu page by clicking your name in the upper right of the header.

Under Administration, click Form Builder.
- The fields on the Form Builder are grouped under the blue ‘tab’ rows. These groups correspond to the tabs on the edit/view lead page. In the image below, the blue ‘tab’ rows are Borrower Profile and Co-Borrower Information.
- In the image below you can also see that the Profile row is colored and row fields under it are slightly indented. This indicates that these fields appear on the lead form as a collapsible
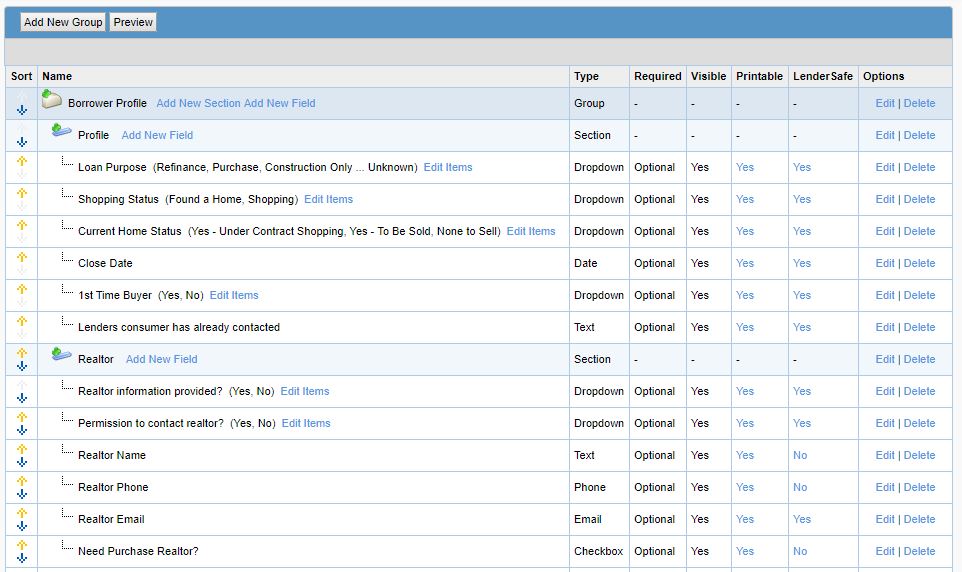
See in the above example the visible blue group name rows are Borrower Profile. Note that this group is the first tabs on the view/edit lead page.
Notice that the first 6 fields in the Profile tab are grouped in blue. There is a button on the right of this blue area displaying a small white line. Click this button to collapse this section of the data.
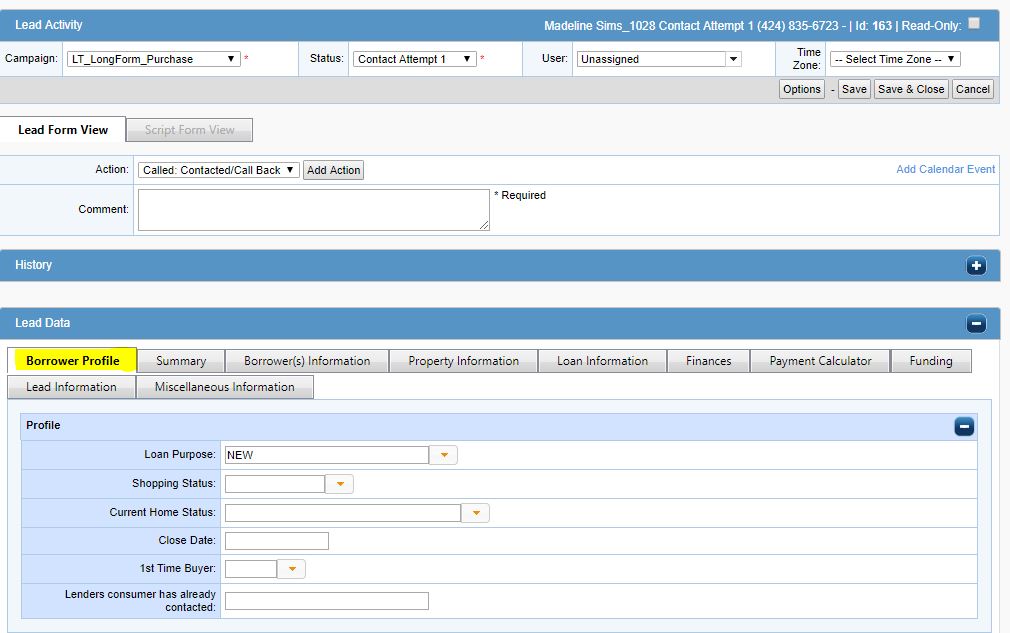
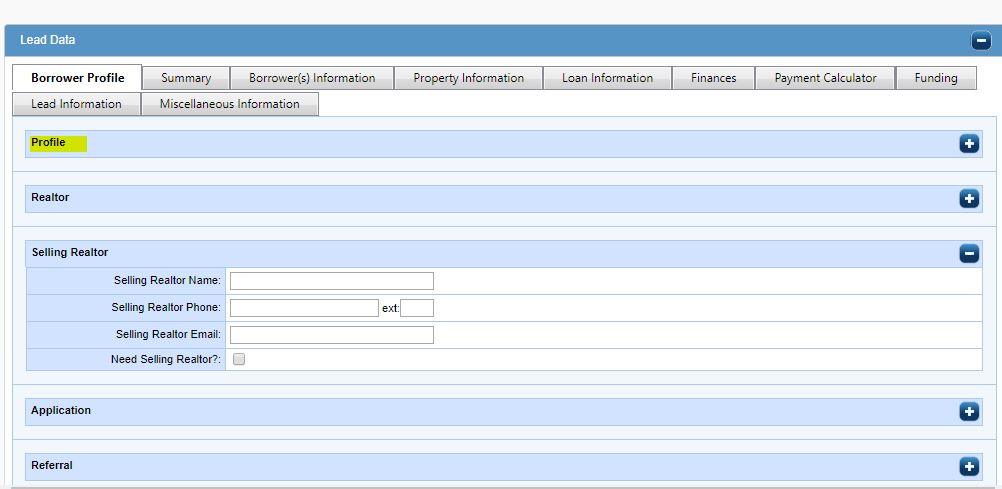
Pictured below is the same lead form with the Profile section collapsed.
Form Builder – Using the Form Builder
On the right side of the Form Builder interface are columns that control the functionality of your lead form. Some of the values in these columns display fixed values while others are live links that you can click to edit some piece of how the lead form works.
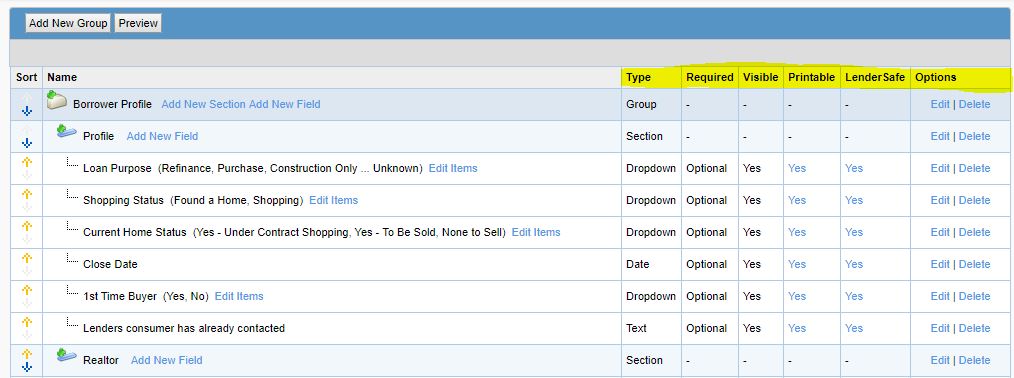
Examples of clickable values are:
- Printable: Click this to toggle between yes and no to determine if you want the field to print when the lead is printed.
- Edit: Click the Edit link to launch the add/edit field popup. It is on the add/edit field popup where you can edit the fixed values in the columns on theform builder, such as “Required” and “Visible”
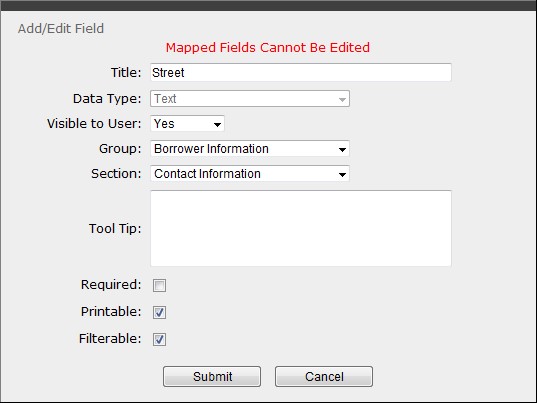
NOTE: In this example, the message, “Mapped Fields Cannot Be Edited”. This field cannot be edited.
Unmapped fields can be edited. Editing options include
- Title: This is the name that displays on the lead form
- Data Type: What kind of data is captured in this field? There are many options but some examples are “text”, “number”, “date”, “money”
- Visible to User: Determines if the field is displayed on the users webform
- Group: Determines the group in which the field will appear
- Section: Determines the section in which the field will appear
- Tool Tip: Input text that will display when the user rolls over this field on the lead form
- Required: Check this box if you want to stipulate that the user MUST have a value in this field
- Filterable: If you want the user to be able to filter by this field, check this box
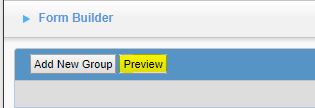
Preview Button
When you are making changes to your lead form in the form builder, click the Preview button to display the lead form as it would look with your current changes.
Delete a Field on Form Builder
It is not possible for clients to delete fields in Velocify LeadManager™. Deleting certain fields could result in significant problems in your database so for the protection of the client, this is a function that is controlled by LeadManager.