ID Verification
-
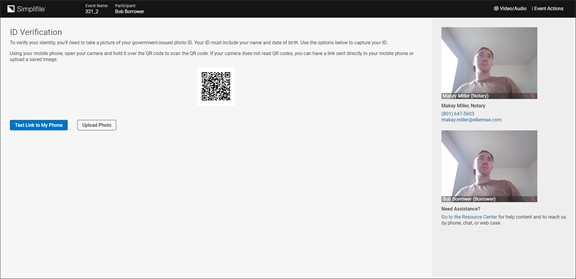
Provide images of your Drivers License, Passport or US Federal or State issued photo ID through one of the following ways:
-
We recommend that you can scan the QR code or select Text Link to My Phone to upload images of your ID using your mobile device.
While not a preferred method, you can choose to manually upload images of your ID from your device.
-
Mobile Image upload Workflow
To upload the image of your ID from your mobile device, do the following:
-
A third-party is required by law to run credential analysis on ID's to participate in a RON signing. The primary vendor used by Simplifile is Mitek.
-
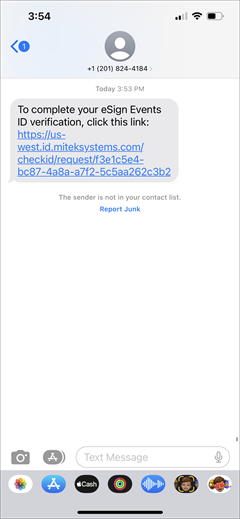
If you select Text Link to My Phone you will receive a text with a link as shown below. Please select the link to continue.
-
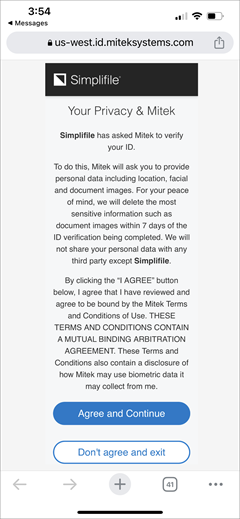
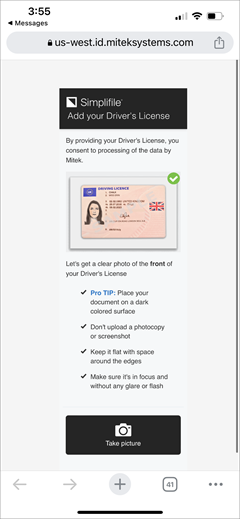
The first page will required you to accept Mitek's Privacy Policy. This is required to continue.
-
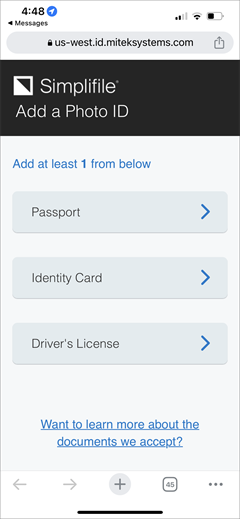
You will then be required to specify what ID type you will be providing. Please ensure that you pick the correct one.
-
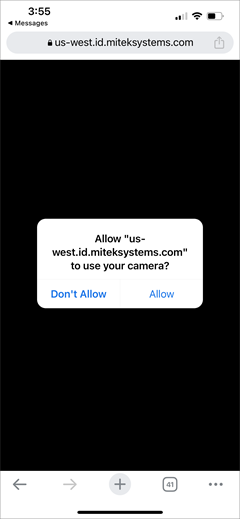
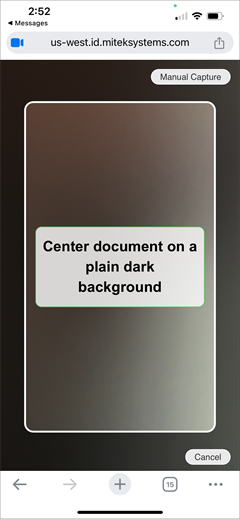
Next you will be prompted to add the front, and if needed, the back of your ID. Mitek provides tips and real time feedback while you are capturing your image. Please follow those instructions to ensure a good image capture.
-
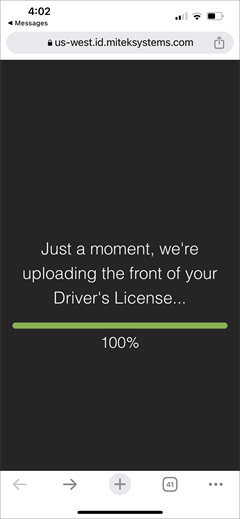
Once your images have been uploaded, Mitek will automatically analyze the images for authenticity. Please note this process can take up to five minutes to complete but typically takes less than one minute.
-
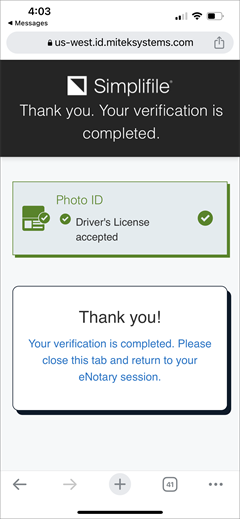
When your images are authenticated you will be notified that your verification is complete and you can now navigate back to your original device that you started on.
-
- Computer Image Upload Workflow
To upload the image of your ID from your computer, do the following:
- When the Add Photo of ID (Front) button appears, select the button.
- When the computer's file manage opens, navigate to the location where the ID image is located and upload the image. The image uploads to the ID Verification page and the Add Photo of ID (Back) button and There is no back of this ID button appear.
- If the ID has information on the back, select the Add Photo ID (Back) button and when the computer's file manage opens, navigate to the location where the ID image is located and upload the image. The image uploads to the ID verification page.
- If the ID does not have information on the back, select the There is no back of this ID button. and the ID verification page displays.
- Review the images on the ID Verification page.
- When everything is correct, select the Verify ID button. A validating spinner displays as the images are validated. When the ID is validated, the message, "We have successfully verified your ID." appears. The ID Verification page displays "We have successfully verified your ID".
-
To continue, press the Continue
 button. The Knowledge Based Authentication page opens.
-
-
When the ID verification is complete you will be allowed to continue. To continue, press the Continue
button. The Knowledge-Based Authentication page will open.