Create Conditions (for Enhanced Conditions)
This feature is not available in Encompass Broker Edition.
This topic describes how to create enhanced conditions. If your company uses Standard Conditions, refer to the Create Conditions (for Standard Conditions) help topic.
Create Conditions (for Enhanced Conditions)
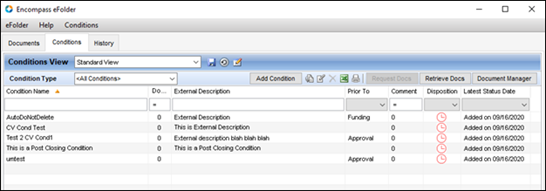
If your company has enabled Enhanced Conditions, you can add a new condition by clicking the Add Condition button on the Conditions tab.

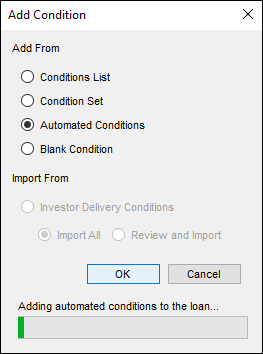
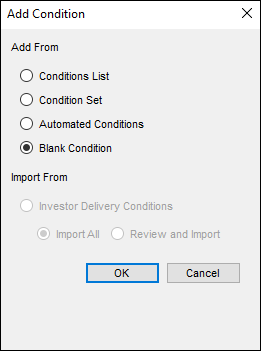
The Add Condition window opens.
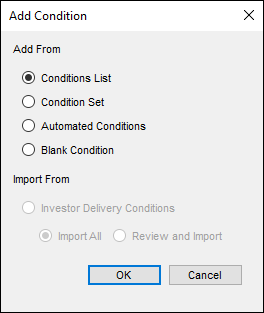
There are four options on the window:
-
Conditions List – Select from a list of preconfigured conditions.
The list of conditions is from the enhanced condition templates that are active under settings. Both the condition type and template must be in active status under settings. (Encompass > Settings > eFolderSetup > EnhancedConditions)
-
Condition Sets – Select conditions from preconfigured condition sets.
-
Automated Conditions – Import automatically generated conditions for a loan based on business rules.
-
Blank Condition – Create a condition from scratch.
The Import From section is used to import enhanced conditions via Encompass Investor Connect. This functionality will be available in a future release of Encompass and the option to import these types of conditions is currently disabled.
To Add a Condition from the Conditions List:
-
On the eFolder Conditions tab, click the Add Condition button.
Before clicking the Add Condition button, you can select one or more options from the Condition Type dropdown list to view only conditions for the selected condition types.
-
On the Add Condition window, click the Conditions List option, and then click OK.
-
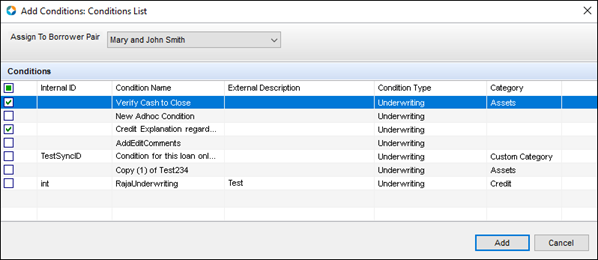
The Add Condition: Conditions List window opens and displays the available conditions.
-
Use the dropdown list at the top of the window to select the borrower pair these conditions will be for, and then select the checkboxes for conditions you want to add.
-
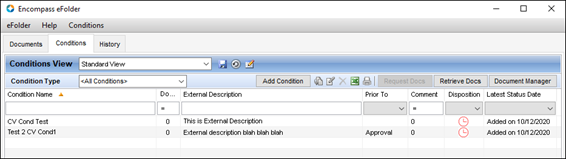
When finished, click Add to add the selected conditions to the Conditions tab in the eFolder.

To Add a Condition from a Condition Sets:
-
On the eFolder Conditions tab, click the Add Condition button.
-
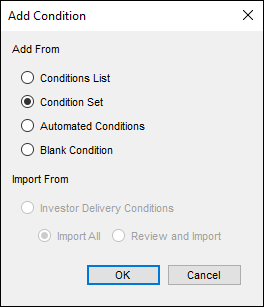
On the Add Condition window, click the Condition Set option, and then click OK.
-
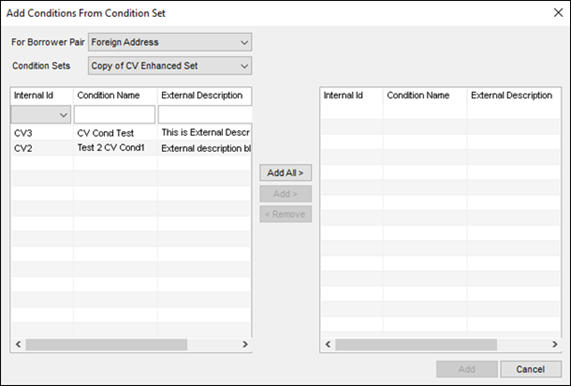
From the dropdown lists at the top of the window, select the borrower pair these conditions will be for, and then select the Condition Set from which you want to select your conditions. The Add Condition from Condition Set window has search fields for locating conditions by name or external description.
-
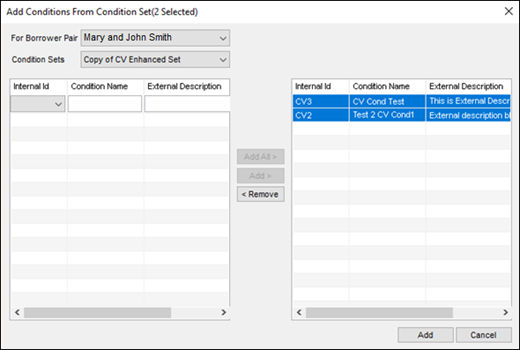
Select conditions in the left panel and then click the Add button in the center of the window to add the conditions to the eFolder or click the Add All button to add the entire condition set. The conditions move to the right panel.
-
When finished, click the Add button at the bottom of the window to add the selected conditions to the Conditions tab in the eFolder.
To Add Automated Conditions:
-
On the eFolder Conditions tab, click the Add Condition button.
-
On the Add Condition window, click the Automated Conditions option, and then click OK.
-
Automated conditions are added to the loan based on business rules.
-
Conditions that are duplicates will be presented to the user to decide on what conditions should be applied.
Automated conditions for enhanced conditions do not require the user to confirm the conditions they want to have automatically added, as is required with standard conditions. Automated conditions are applied based on the business rules.
To Add a Blank Condition:
-
On the eFolder Conditions tab, click the Add Condition button.
-
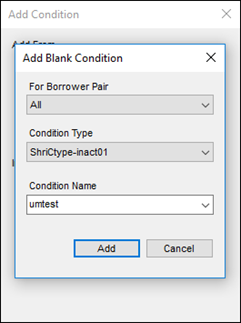
On the Add Condition window, click the Blank Condition option, and then click OK.
-
On the Add Blank Condition window, use the dropdown list at the top of the window to select the borrower pair these conditions will be for.
-
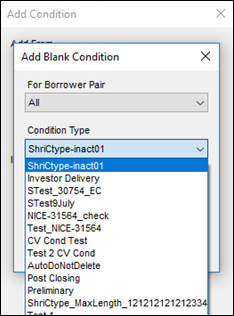
Select the Condition Type that will apply to the new blank condition.
-
Select a name for the new blank condition from the dropdown list or type a name, and then click Add.
-
The new blank condition is added to the Conditions tab on the eFolder.